# Google Cloud Deployment
This setup is similar to the Docker Deployment, except that the docker-compose is hosted by Google Cloud.
# Google Cloud shell setup
Google Cloud is alternative way to set up BTCPayServer.
Start by clicking the following button:
 (opens new window)
You can log into Google Cloud Console (opens new window) with your Google account.
Final installation steps:
- On Google cloud shell, Set the default project and zone where to deploy instance
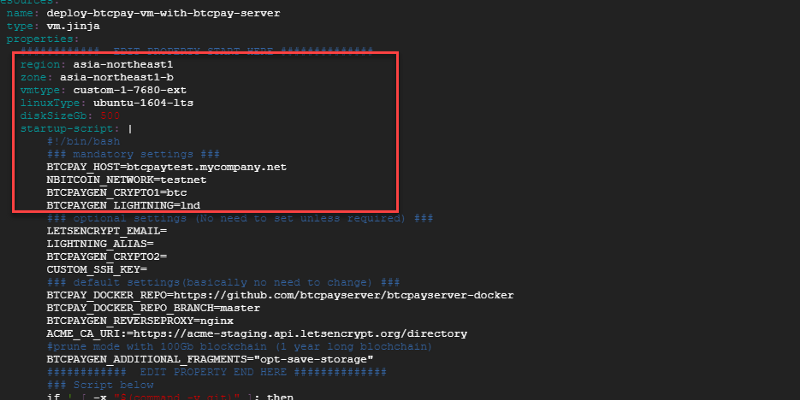
- Change yaml file to configure VM instance and BTCPay server:

- Change mode 755 for shell scripts and run 'deploy.sh <any deployname>' to start depolyment
- (Wait for Google Cloud deployment for a minute)
- A static IP is shown on the Google cloud shell
- Go to your DNS service and map it with your domain name, say EXAMPLE.MYSITE.com
- ssh to the vm from Google cloud console's VM instances list
- on ssh, Go to /btcpayserver-docker directory and run 'changedomain.sh EXAMPLE.MYSITE.com'
- Access to https://EXAMPLE.MYSITE.com by browser
- Click 'Register' and create an account - This will be your admin account!
- Done! Visit
https://EXAMPLE.MYSITE.com/storesto create your store and begin invoicing.
For advanced users, you can connect via SSH with the information on https://EXAMPLE.MYSITE.com/server/services/ssh, and:
- Run
docker psanddocker logs xxxto view running processes - Run
btcpay-down.shandbtcpay-up.shto stop and start the BTCPayServer
Approximate Cost : 70 USD per month
Learn more: btcpayserver/btcpayserver-googlecloud (opens new window)
