# GiveWP donations integration
# Requirements
Please ensure that you meet the following requirements before installing this plugin.
- PHP version 8.0 or newer
- The cURL, gd, intl, json, and mbstring PHP extensions are available
- A WordPress site with GiveWP installed (Installation instructions (opens new window)
- You have a BTCPay Server version 2.0.0 or later, either self-hosted or hosted by a third-party
- You've a registered account on the instance
- You've a BTCPay store on the instance
- You've a wallet connected to your store
# 1. Install BTCPay for GiveWP Plugin
There are three ways to install the BTCPay for GiveWP plugin:
- From within WordPress via the Admin Dashboard (recommended, see below)
- WordPress plugin directory (opens new window)
- GitHub Repository (opens new window)
# 1.1 Install plugin from WordPress Admin Dashboard (recommended)
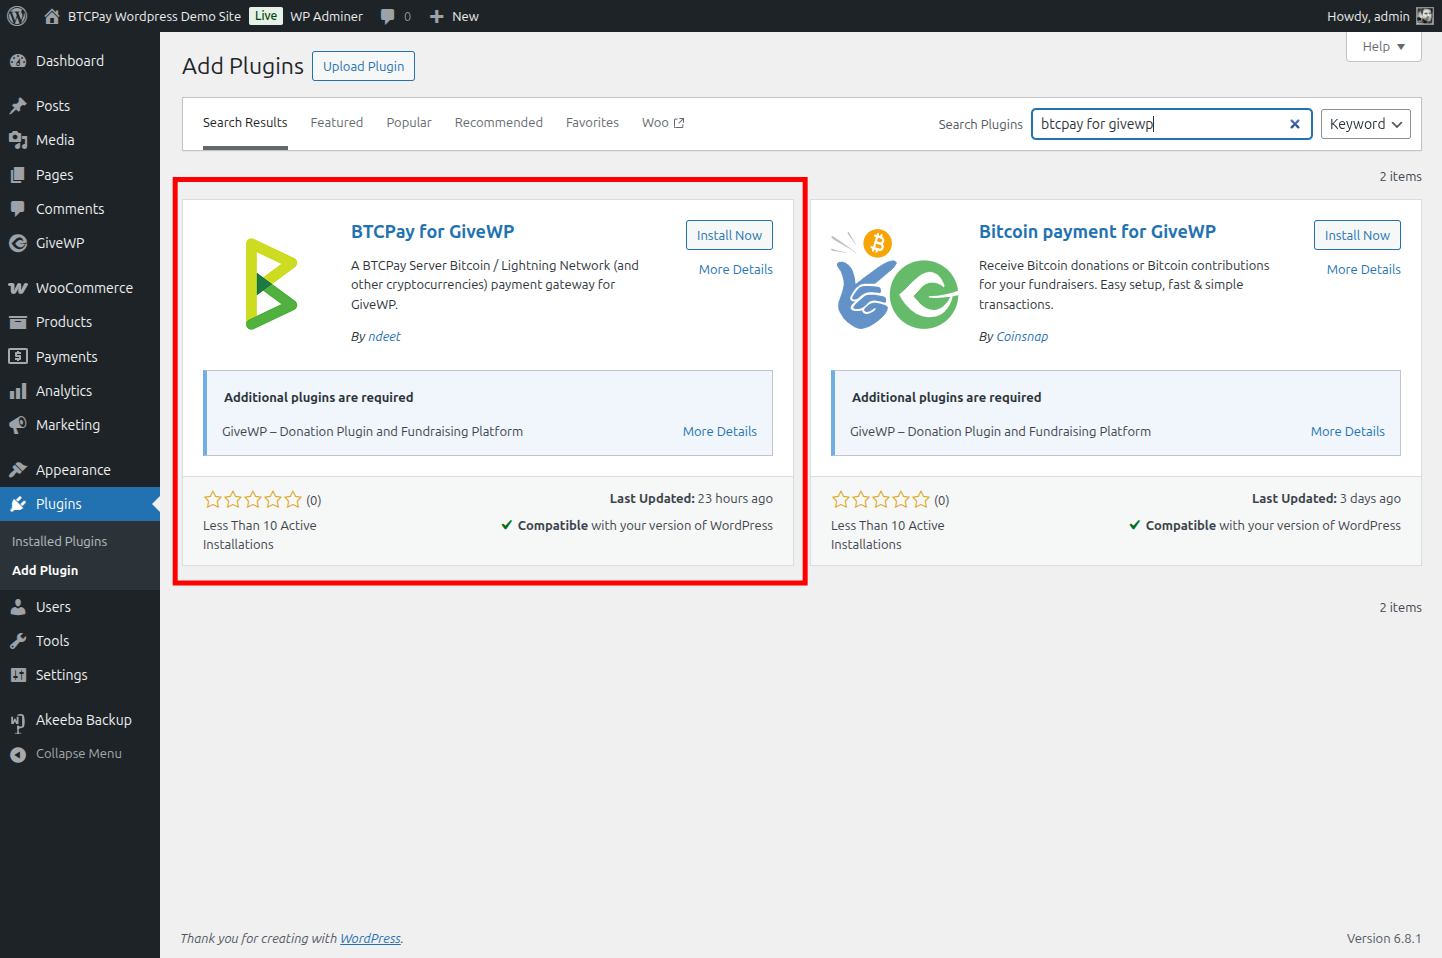
- On left sidebar click Plugins -> Add New.
- In Search, type "BTCPay for GiveWP".
- Click Install now and then Activate.
# 1.2 Download and install plugin from GitHub
Alternatively, you can download the plugin from GitHub and install it manually:
- Download the latest BTCPay plugin (opens new window).
- On WordPress admin dashboard click on Plugins -> Add Plugin.
- Click on Upload Plugin button and select the .zip file you just downloaded.
- Click Install Now and then Activate.
# 2. Connecting GiveWP and BTCPay Server
BTCPay for GiveWP plugin is a bridge between your BTCPay Server (payment processor) and your donation forms. No matter if you're using a self-hosted or third-party solution, the connection process is identical.
# 2.1 Create API key
On your BTCPay Server instance (ideally on a separate browser tab):
- Click on [Account] -> Manage Account on the bottom left
- Click on "API Keys"
- Click [Generate Key] to select permissions.
- Click on the "Select specific stores" link and select the GiveWP store you want to connect - for the following permissions:
View invoices,Create invoice,Modify invoices,Modify stores webhooks,View your stores,Create non-approved pull payments(used for refunds (not implemented yet))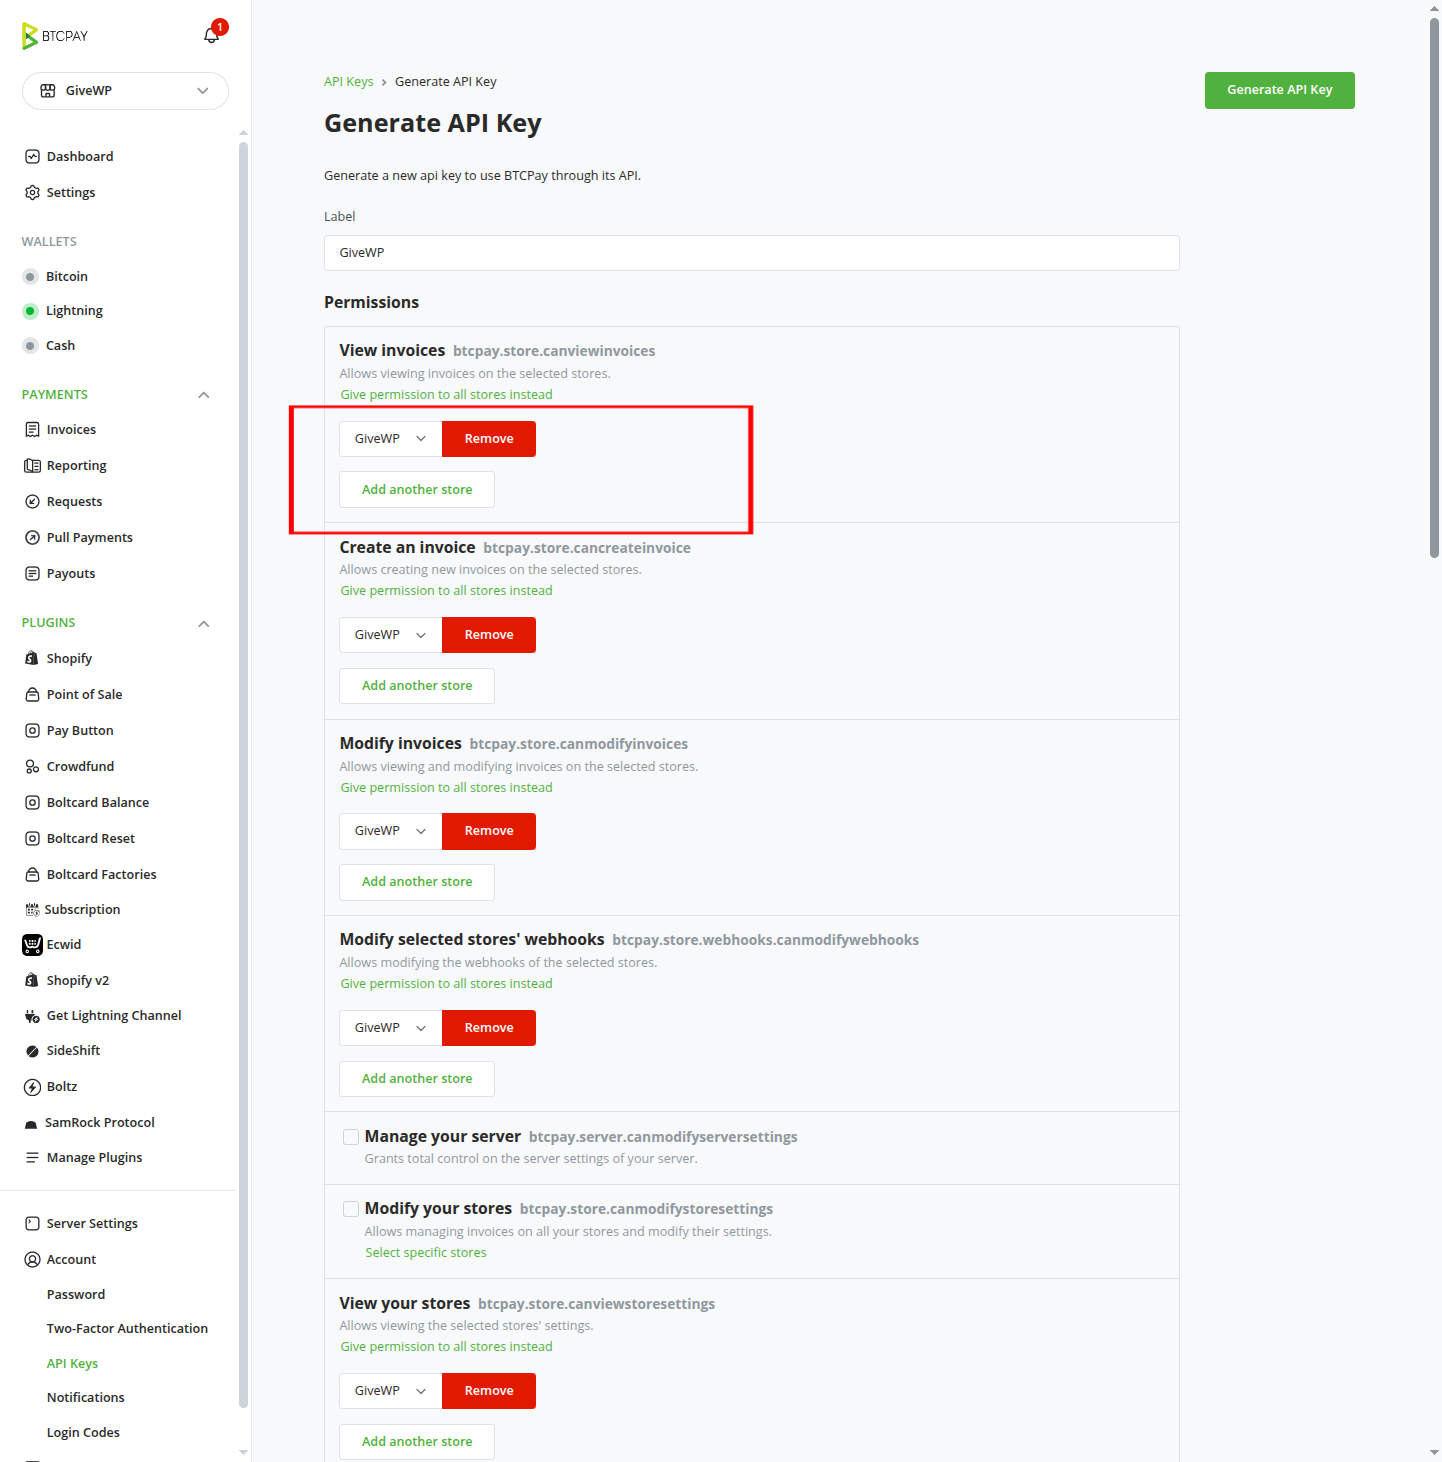
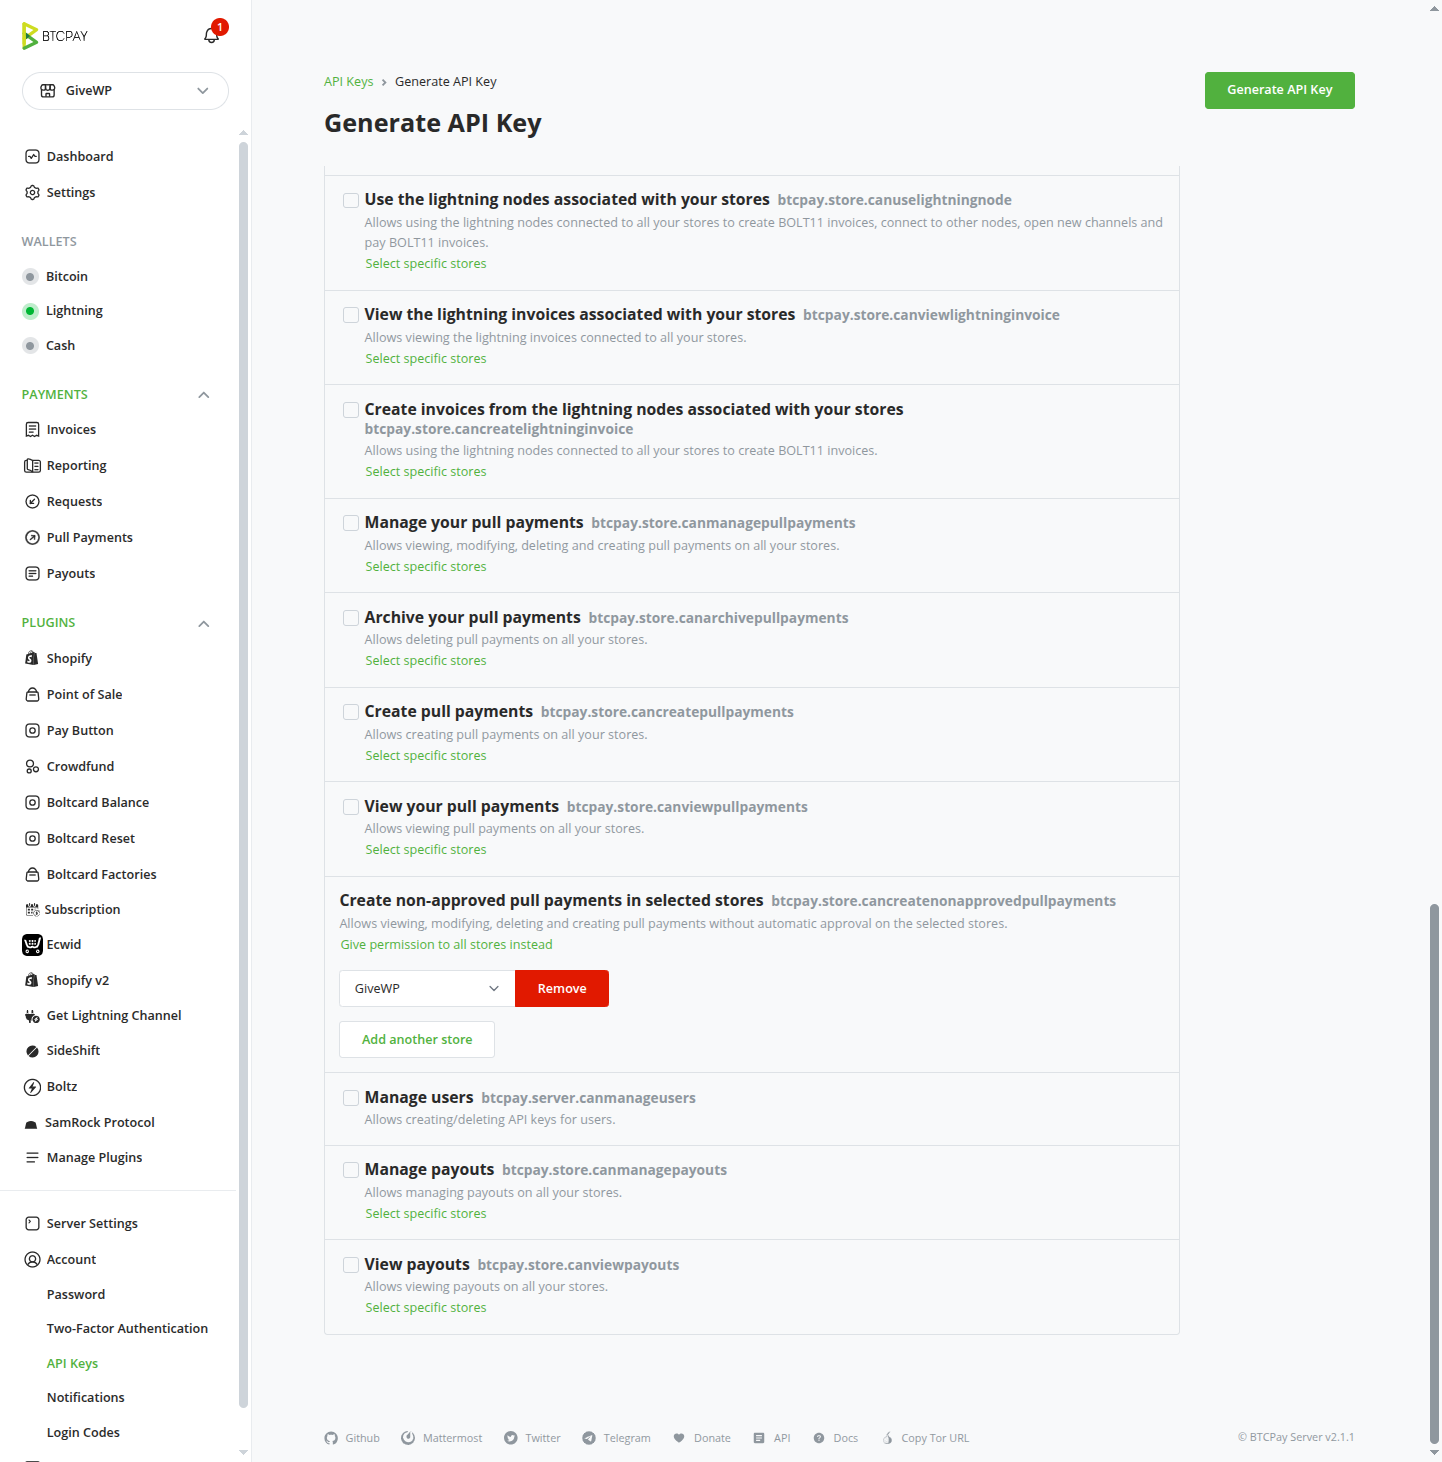
- Click on the [Generate API Key] button in the top right corner.
- Copy the generated API Key and Store ID to a safe place. You will need them in the next steps.

# 2.2 Copy Store ID
Still on your BTCPay Server instance:
- In the left sidebar, in the stores dropdown, select the store you want to connect to GiveWP.
- Still, in the left sidebar, click on [Settings].
- You will see the Store ID at the top of the page.

- Copy the Store ID to a safe place. You will need it in the next steps.
# 2.3 Enter API key and store ID in GiveWP settings
Back on your WordPress site:
Go to your WordPress dashboard.
In the sidebar GiveWP -> Settings -> Payment Gateways.
Click on the BTCPay Gateway tab.
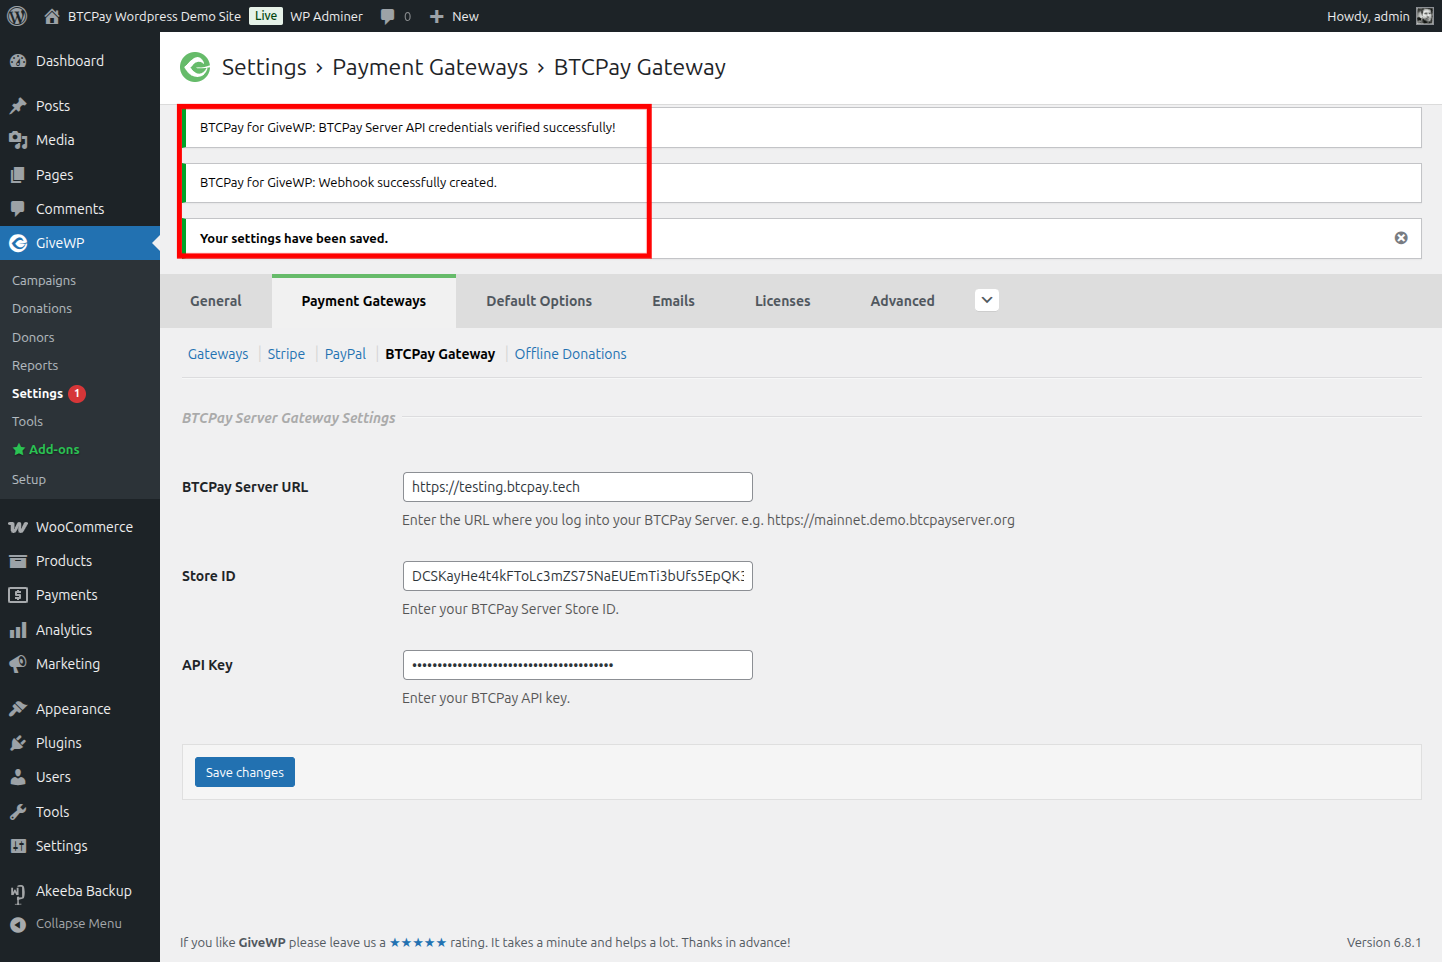
Fill in the BTCPay Server URL with your BTCPay Server instance URL (e.g.,
https://btcpay.example.com).Copy the store ID to your GiveWP BTCPay Settings
Copy the generated API Key to your GiveWP BTCPay Settings

Click on [Save changes] at the bottom of the page
Make sure you see the notification "_BTCPay for GiveWP: BTCPay Server API credentials verified successfully." and "BTCPay for GiveWP: Webhook created successfully." at the top of the page.
Now click on the [Gateways] link/tab at the top of the page to return to the gateways overview.
In the gateways overview, you should see the BTCPay Server Gateway listed as an available payment gateway.
Make sure to put a checkmark in the "Enabled" column to enable the BTCPay Server Gateway. You can also make it the default gateway by checking the "Default" column.

Congratulations, you are now ready to accept donations via BTCPay Server on your GiveWP donation forms!
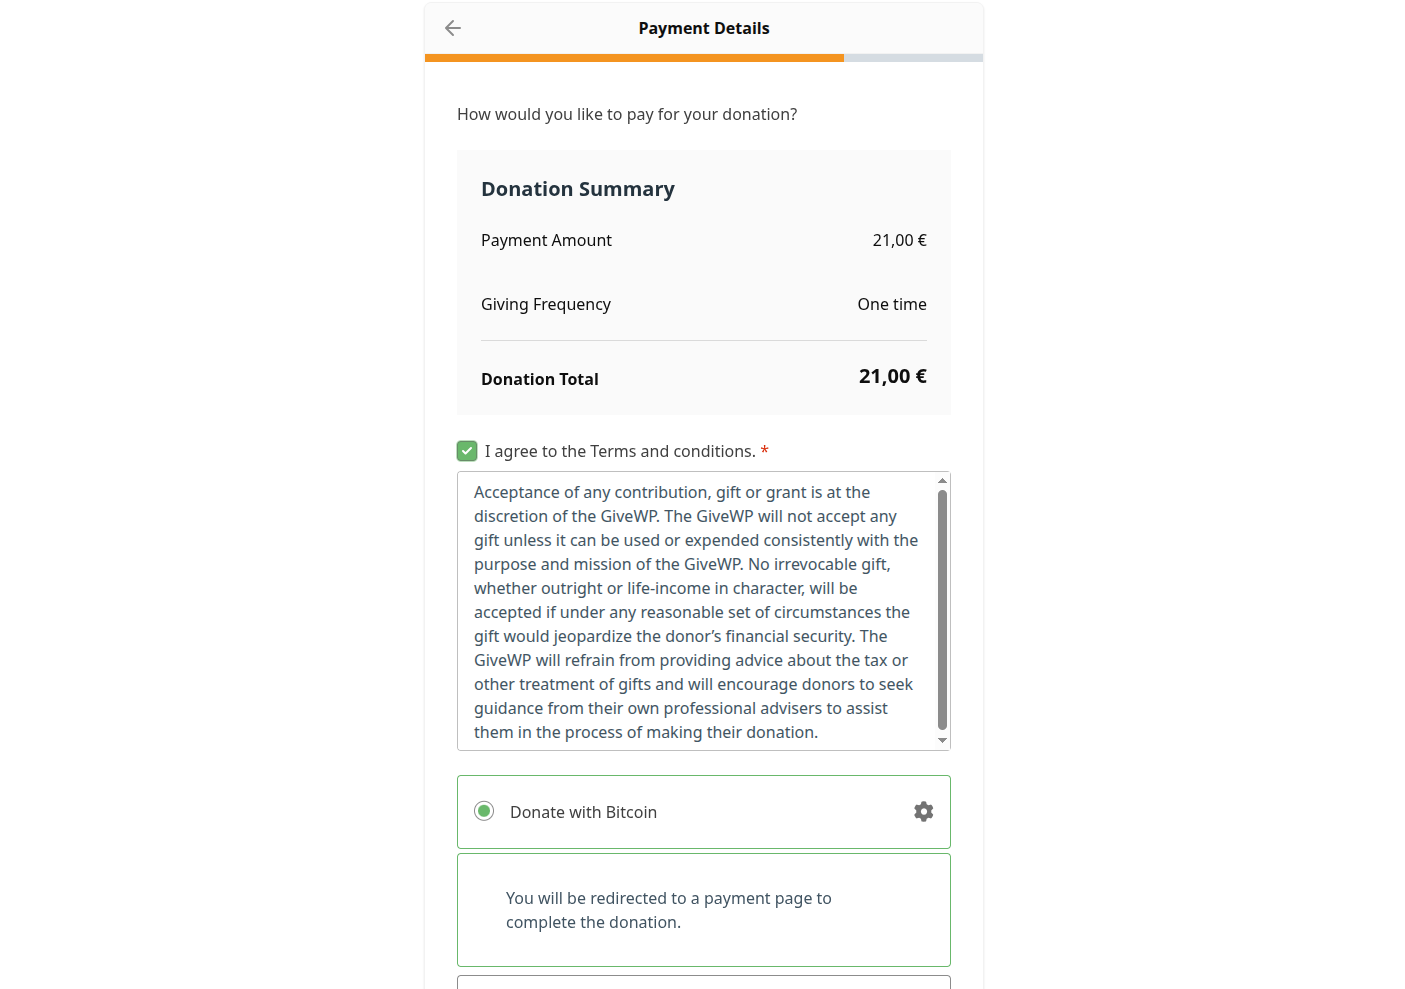
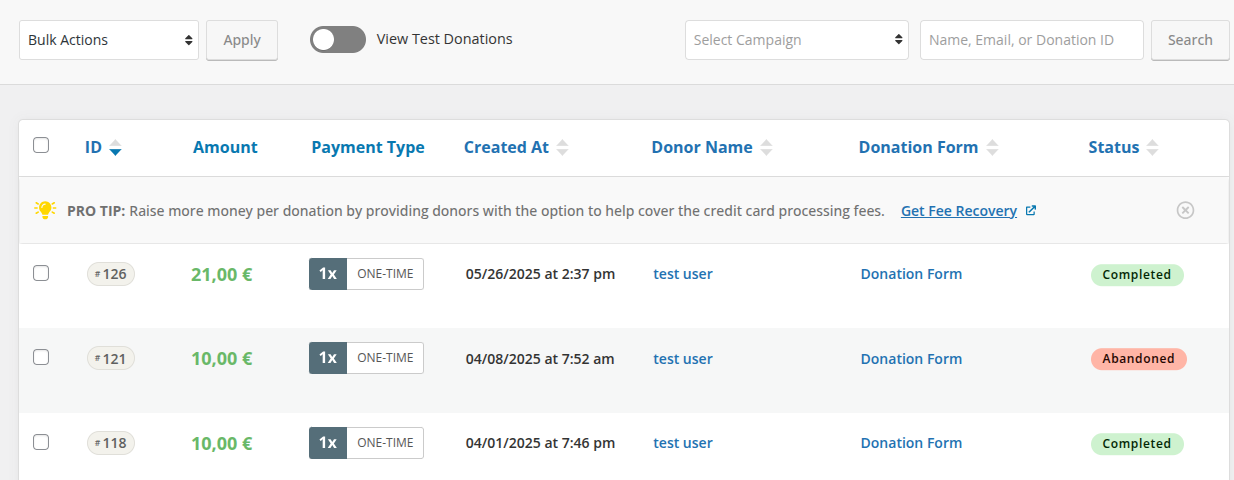
# 3. Testing the donation payment
Making a small test-donation from your store will give you peace of mind. Always make sure that everything is set up correctly before going live.

# Get support
You can open an issue on our repository (opens new window) or reach us on Telegram (opens new window) or Mattermost chat (opens new window).
