# Accept Bitcoin payment for your Cal.com bookings
You can now accept Bitcoin payment for all your Cal.com (opens new window) bookings and appointments. Whether you're offering consultation services or one-on-one meetings, receive Bitcoin payments directly to your wallet - no middlemen, no platform fees, and no hidden costs.
# Prerequisites:
Before diving into the setup process, ensure you have the following:
- Cal.com account (opens new window)
- BTCPay Server - self-hosted or run by a third-party host
- Created BTCPay Server store with wallet set up
# Set up Cal.com with BTCPay Server
Login to your Cal.com account. Navigate to Apps > App store > Payments apps
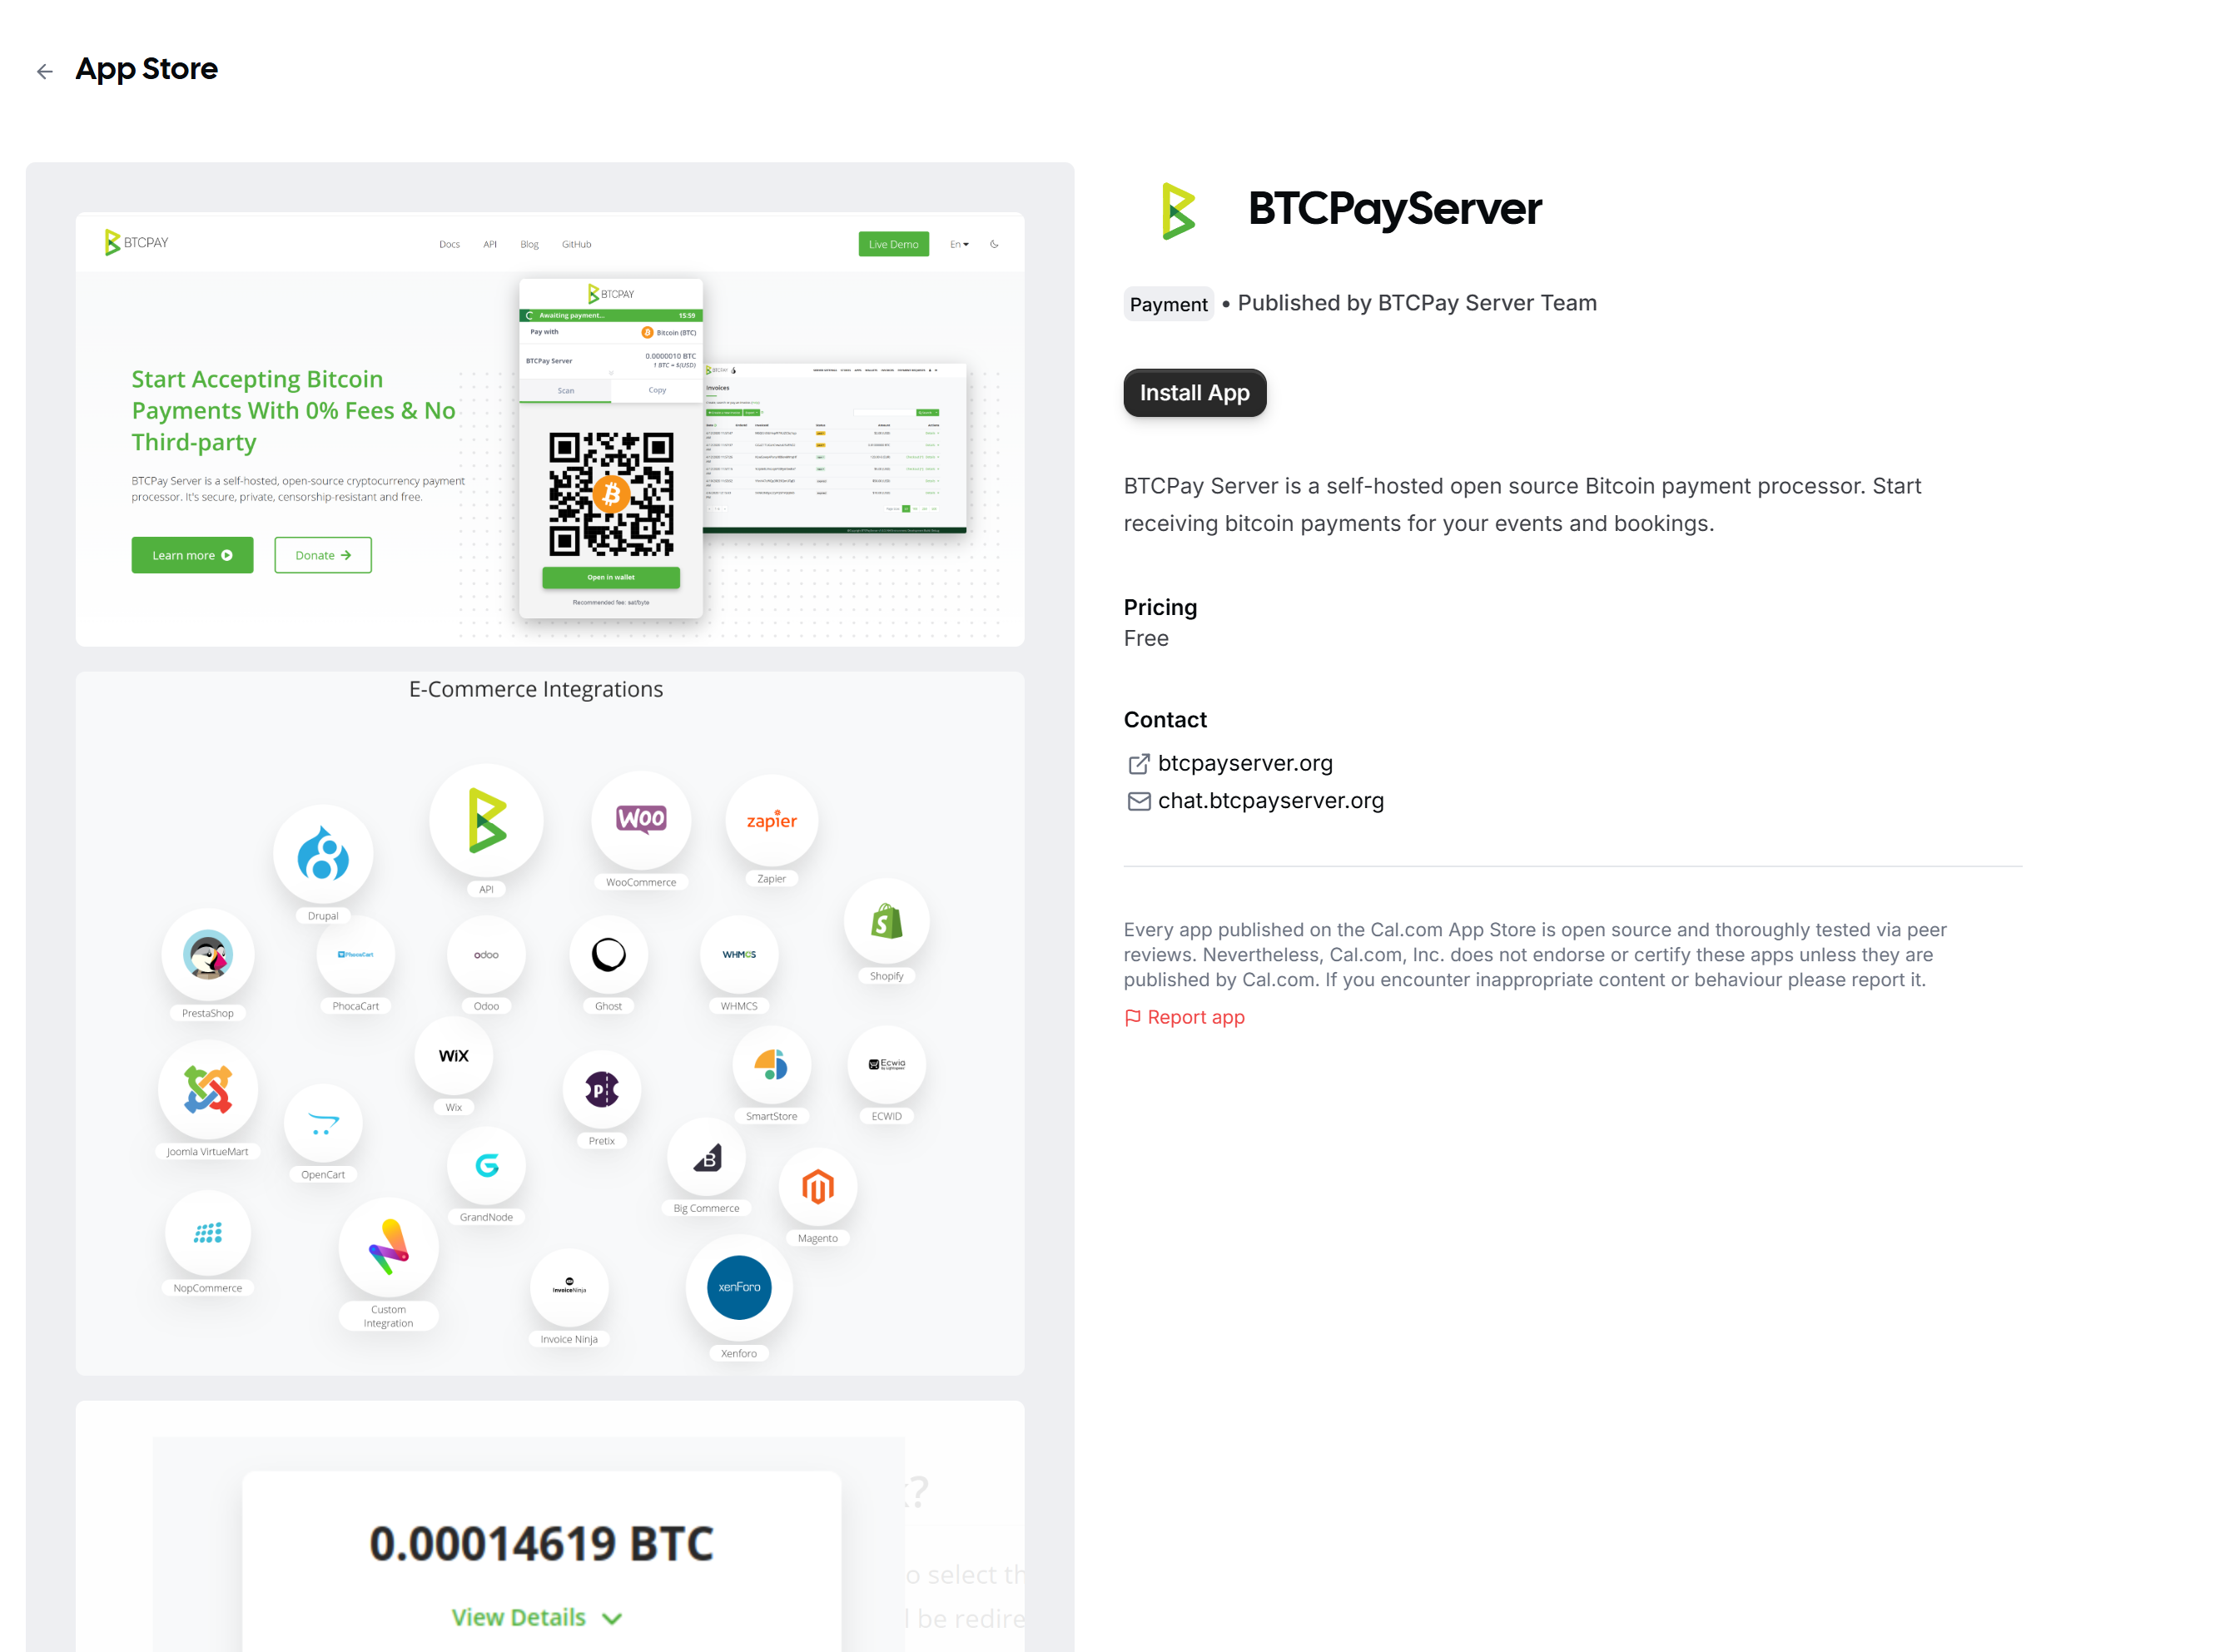
Find the BTCPayServer app, click Details, and then Install App button
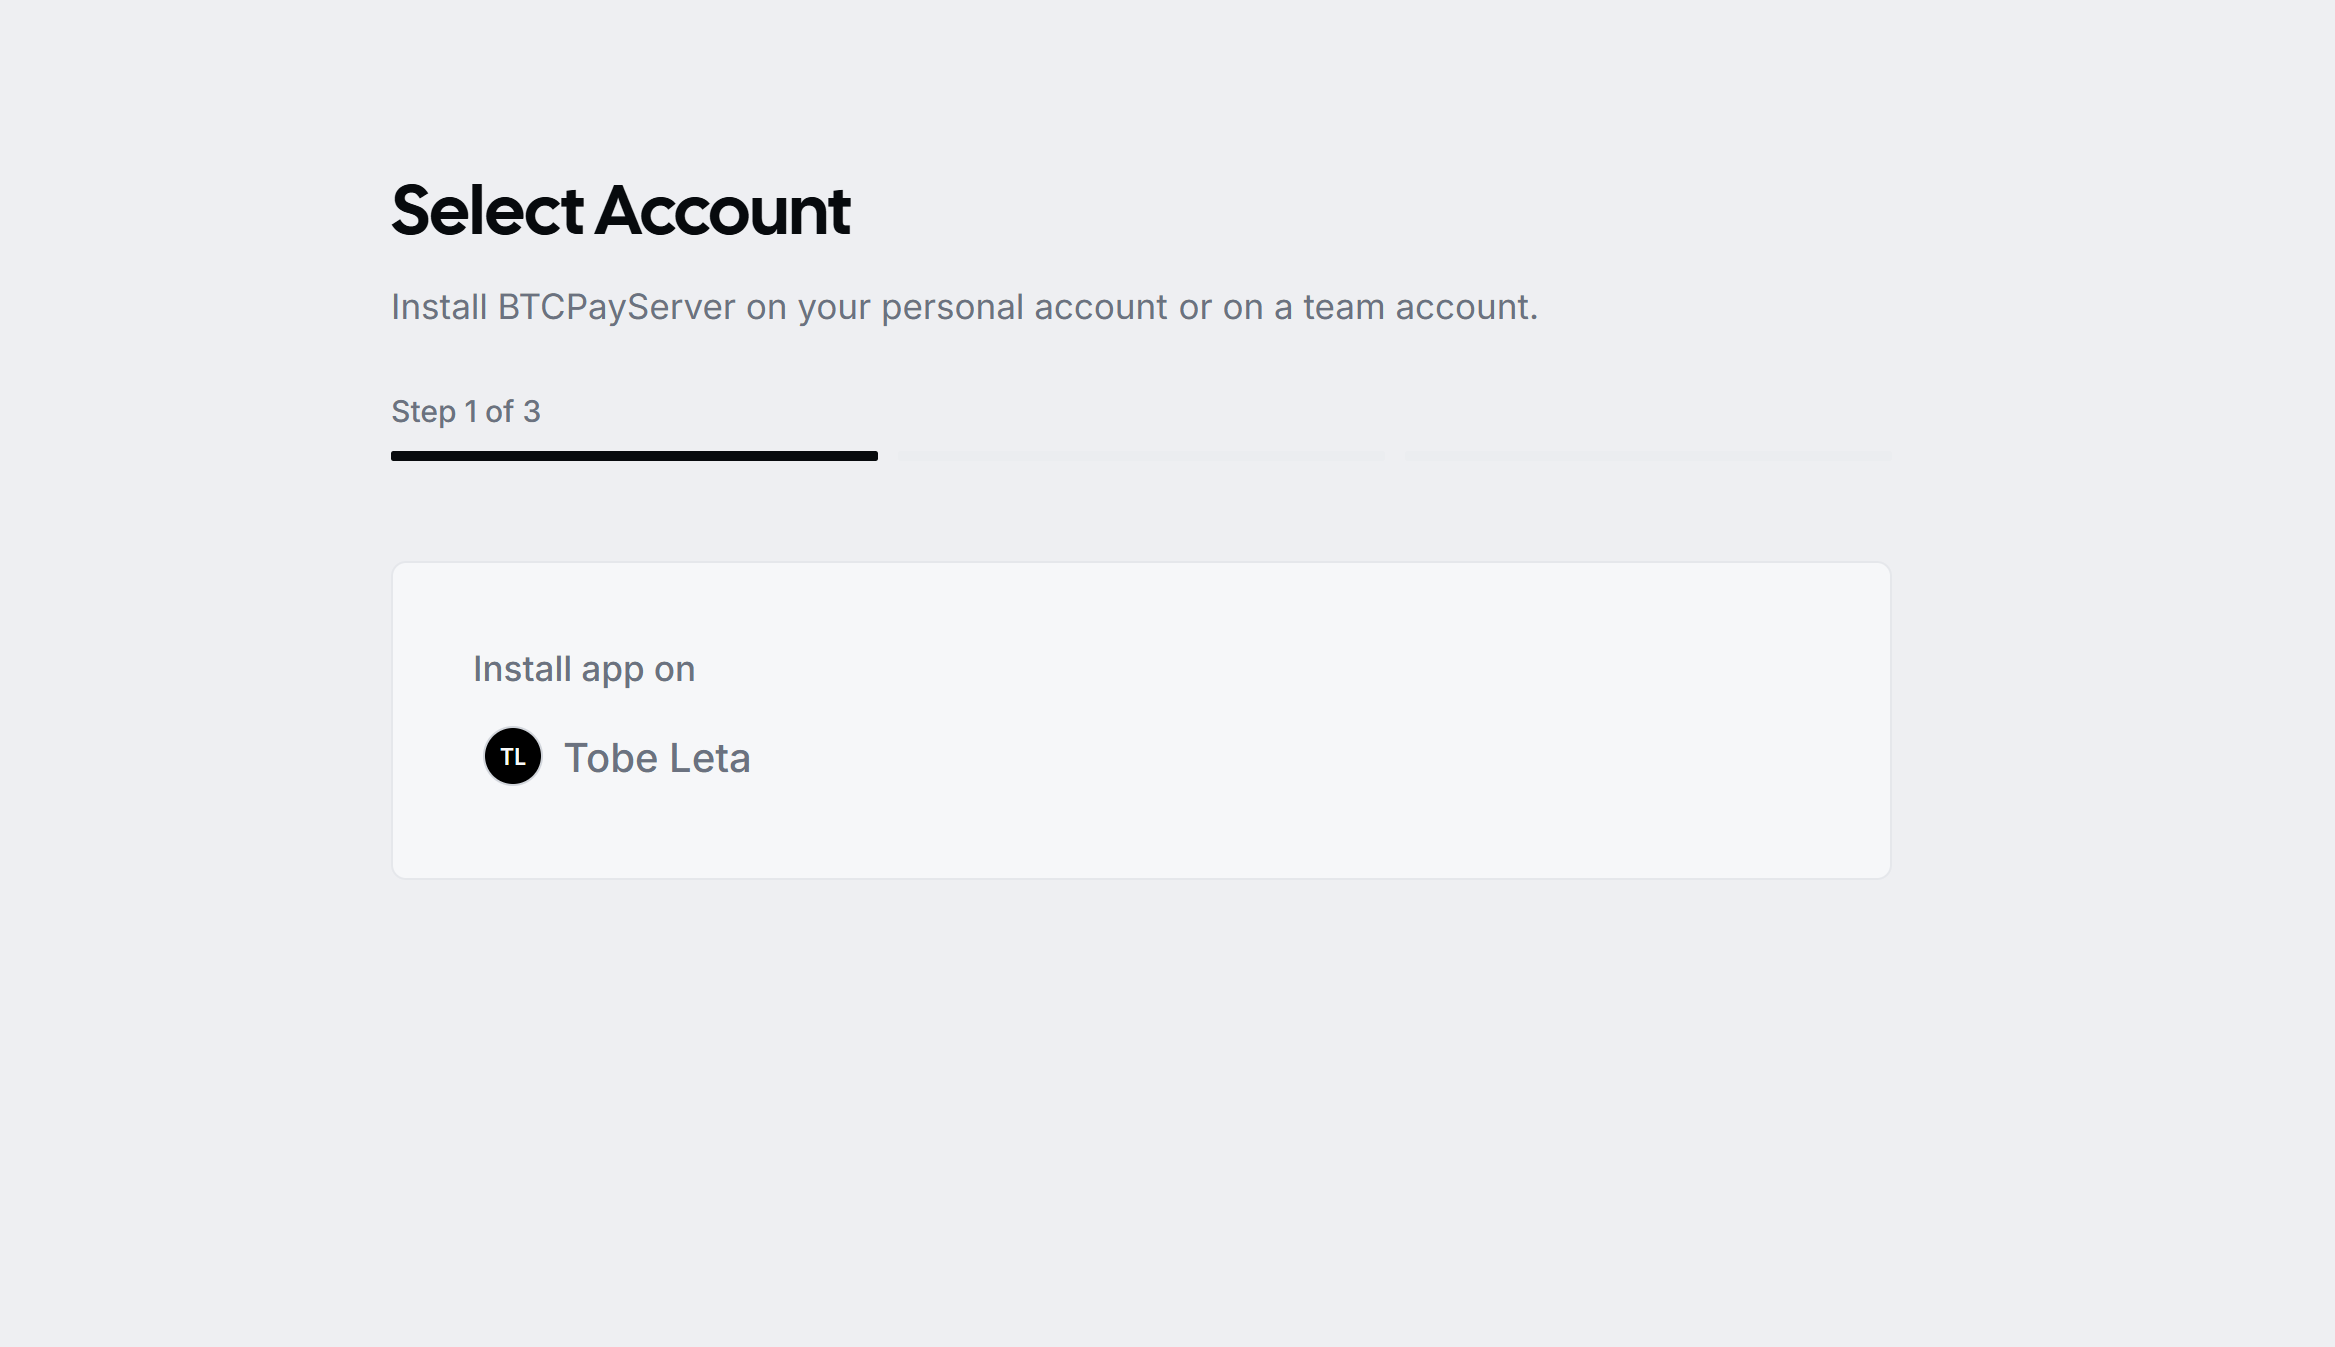
Select the application you want to connect your BTCPay Server instance to
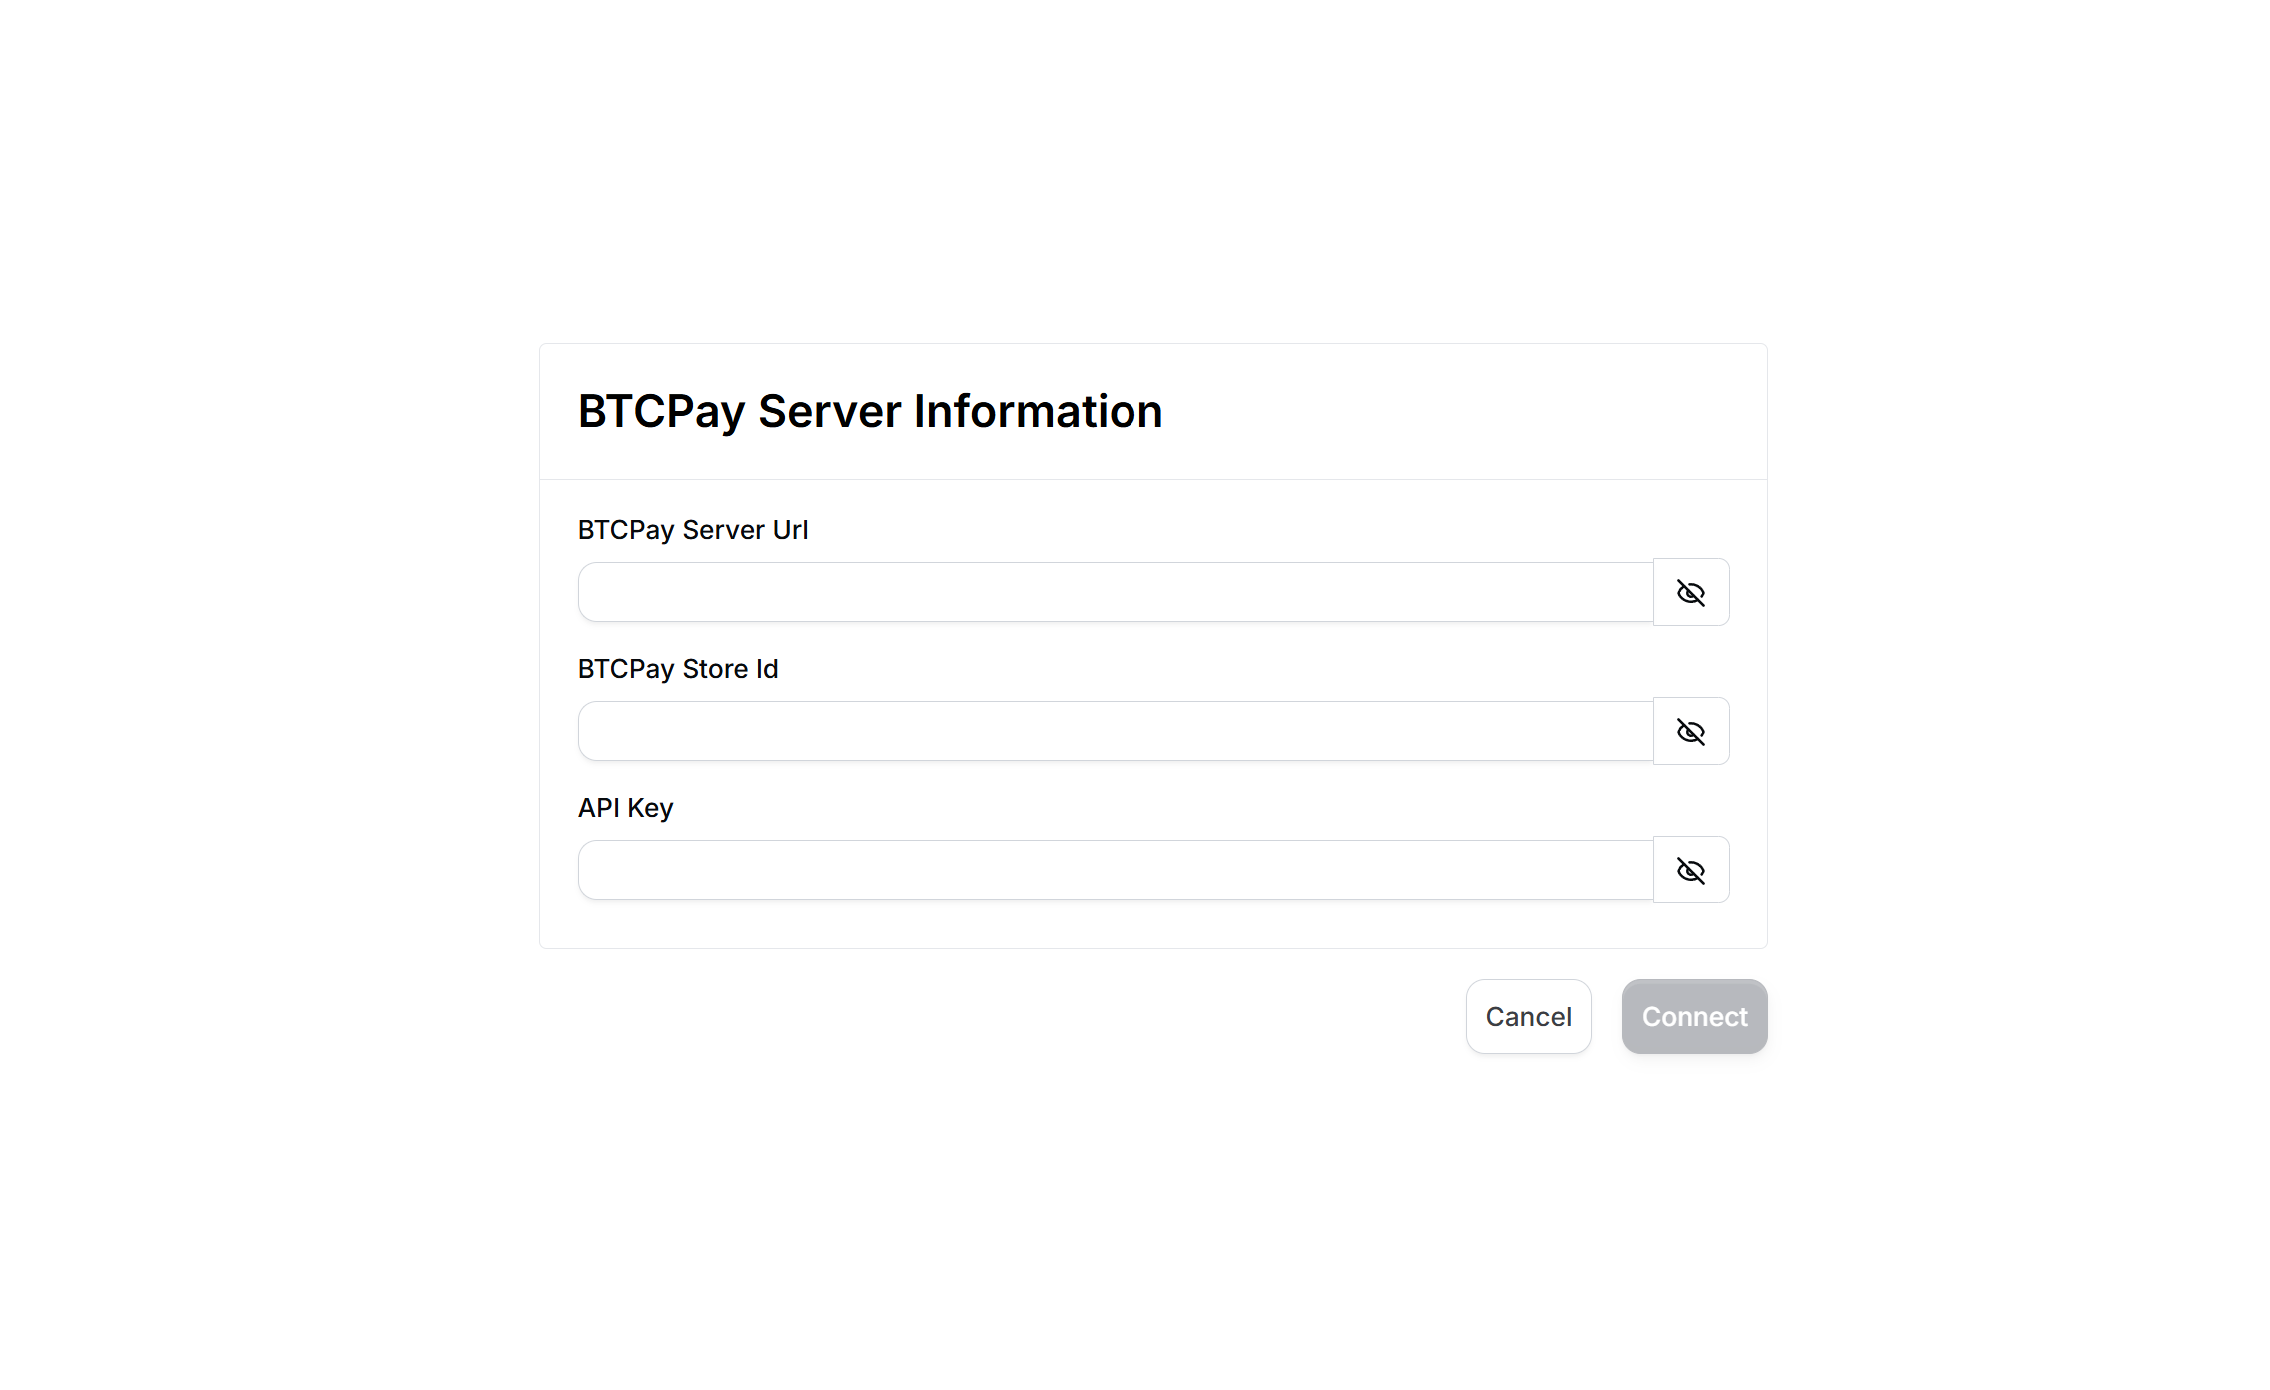
The next step is to fill in your BTCPay credentials. Open your BTCPay Server instance on a new tab
BTCPay Server URL: your BTCPay instance url e.g. https://example.btcpay.com
BTCPay Store Id: The store you want connected to Cal.com. On your BTCPay Server instance, select the chosen store, click on Settings on the left navigation, then you’d see your storeId displayed.
Copy the Store Id, and fill in your Cal.com - BTCPay Server installation form
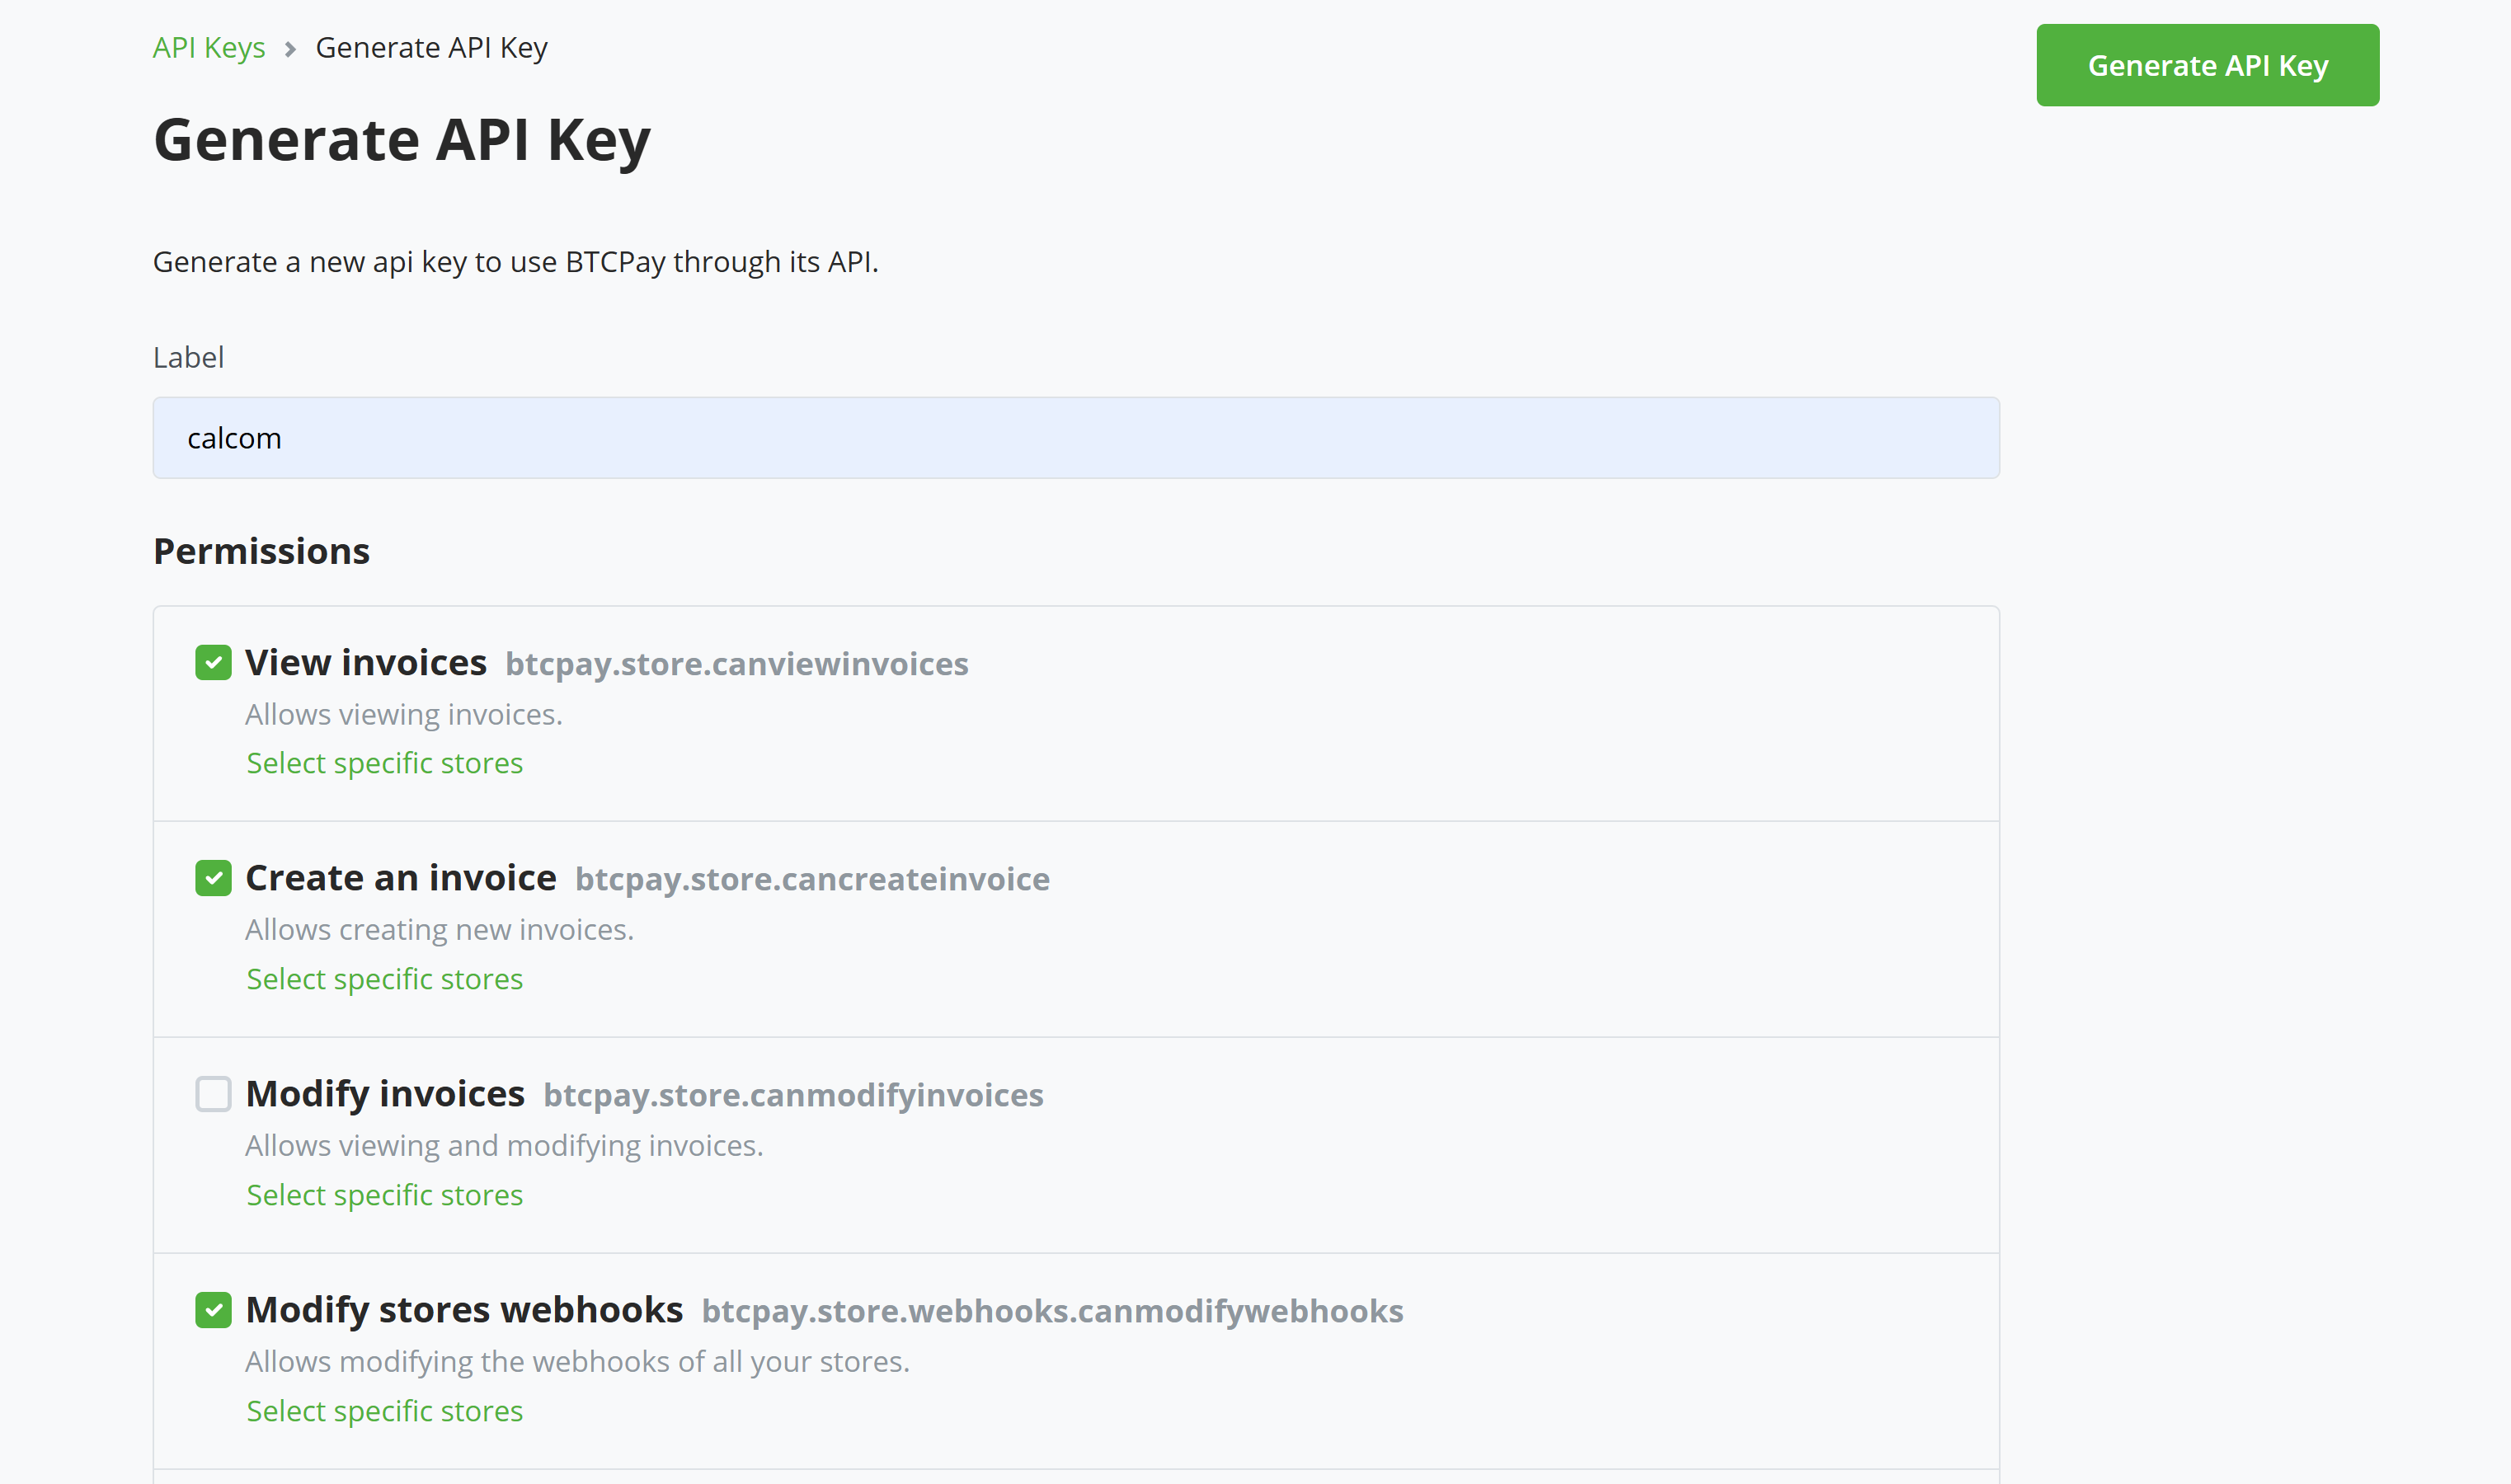
API Key: In your BTCPay, go to Account > Manage Account > API Keys
Create a new API key by clicking on Generate Key. Give it a name under the label field e.g. BTCPay-Calcom.
For permissions check the follow:
- View Invoice (btcpay.store.canviewinvoices)
- Create Invoice (btcpay.store.cancreateinvoice)
- Modify store webhook (btcpay.store.webhooks.canmodifywebhooks)
Once done click Save. Copy the API key and complete the form in Cal.com installation.
Now that you have all three fields filled, click on connect button to complete installation. Once all fields are validated, your keys should be saved and you'd be redirected back to Cal.com page.
Please Note This installation process creates a webhook in your BTCPay Server.
# Demo
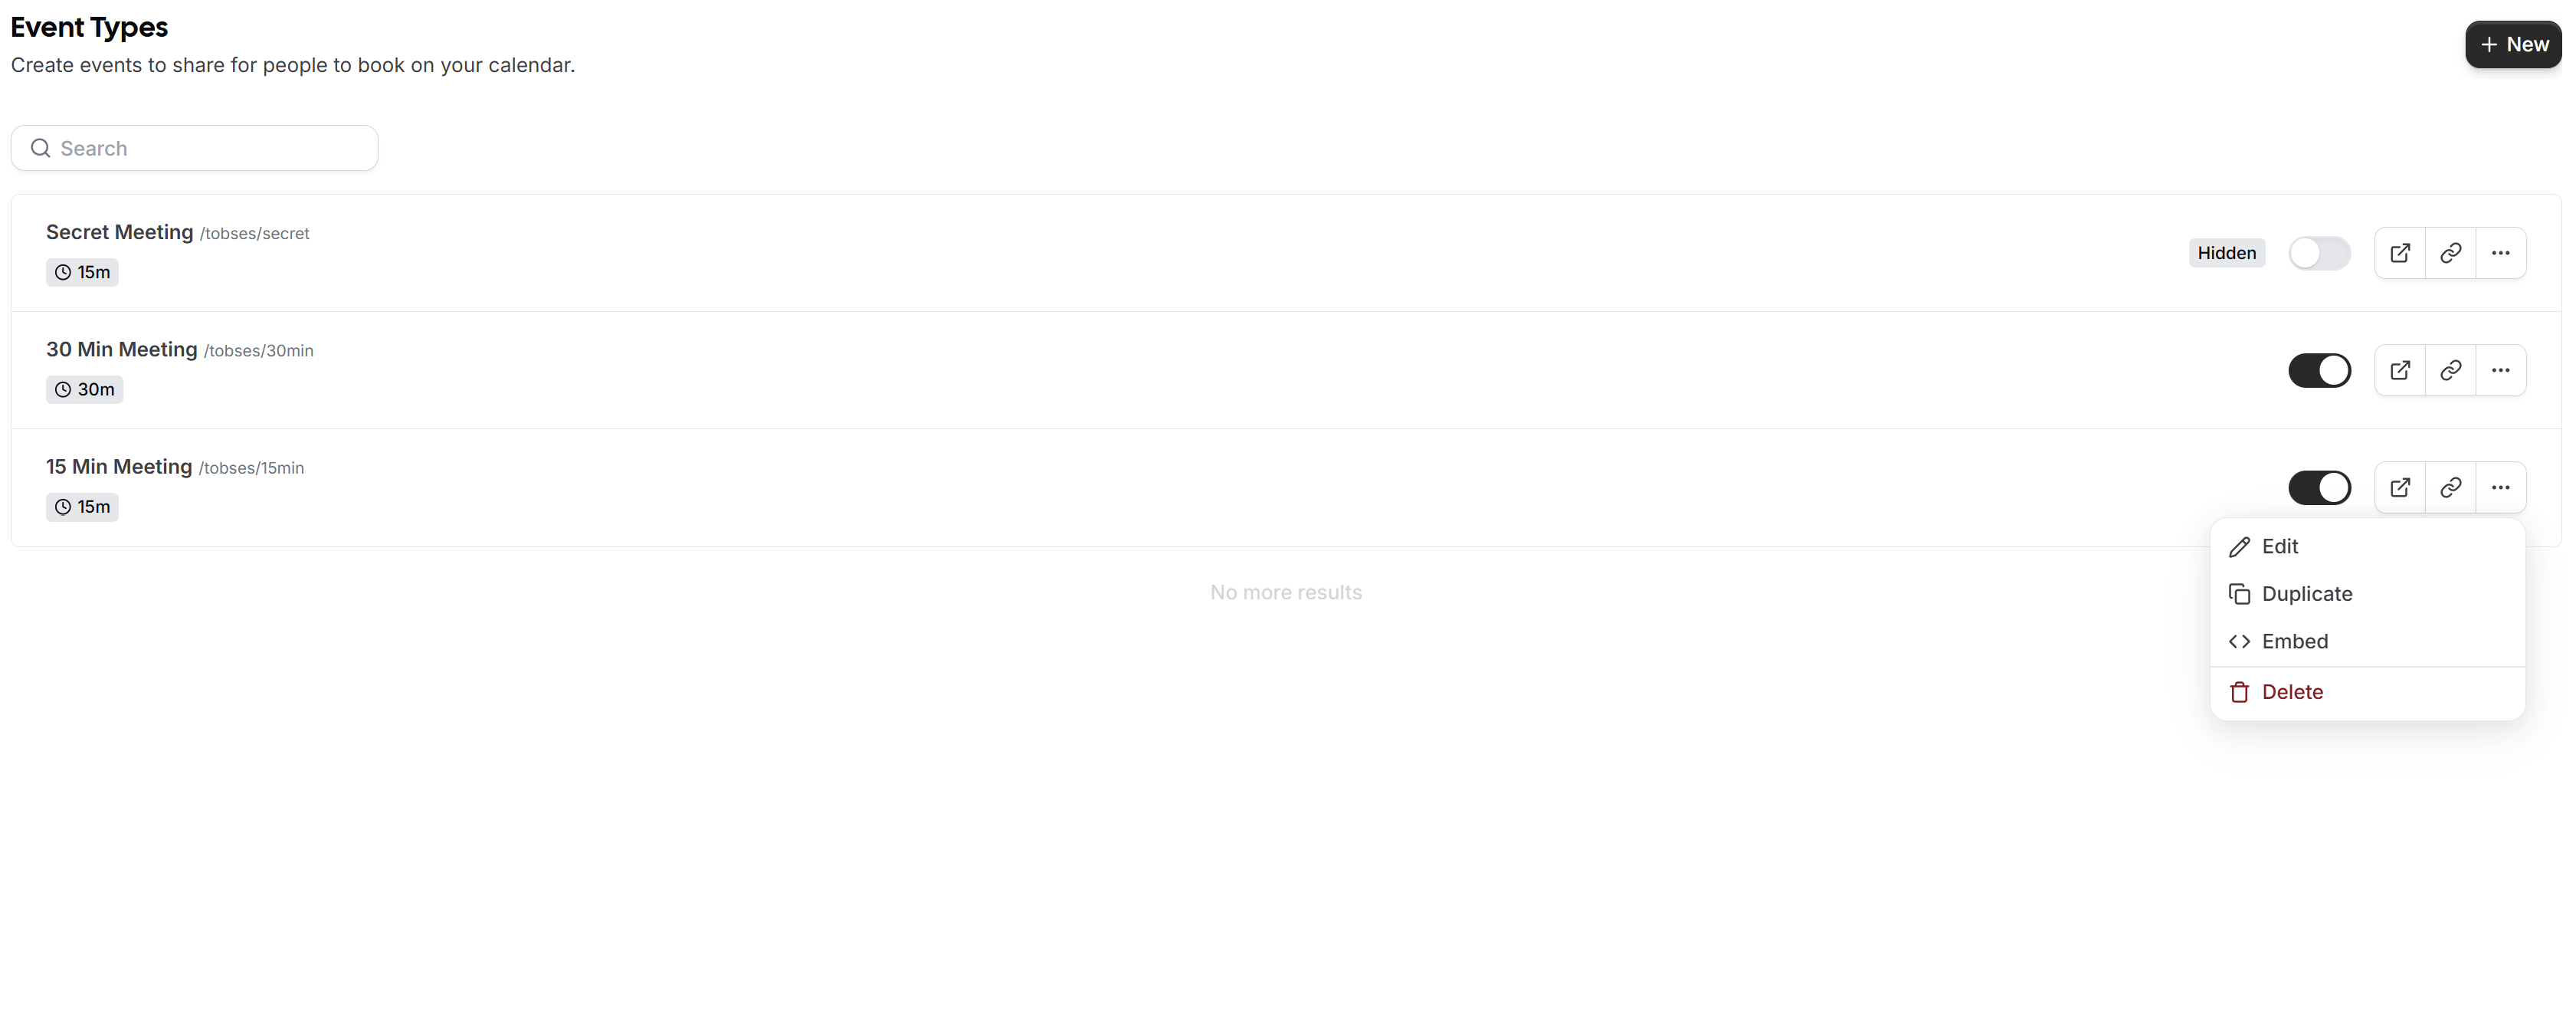
In your event type page, select any booking and click Edit.
Each event in Cal.com is configured individually, so, if you want to accept Bitcoin payments for all events, you'll need to enable it manually for each one.
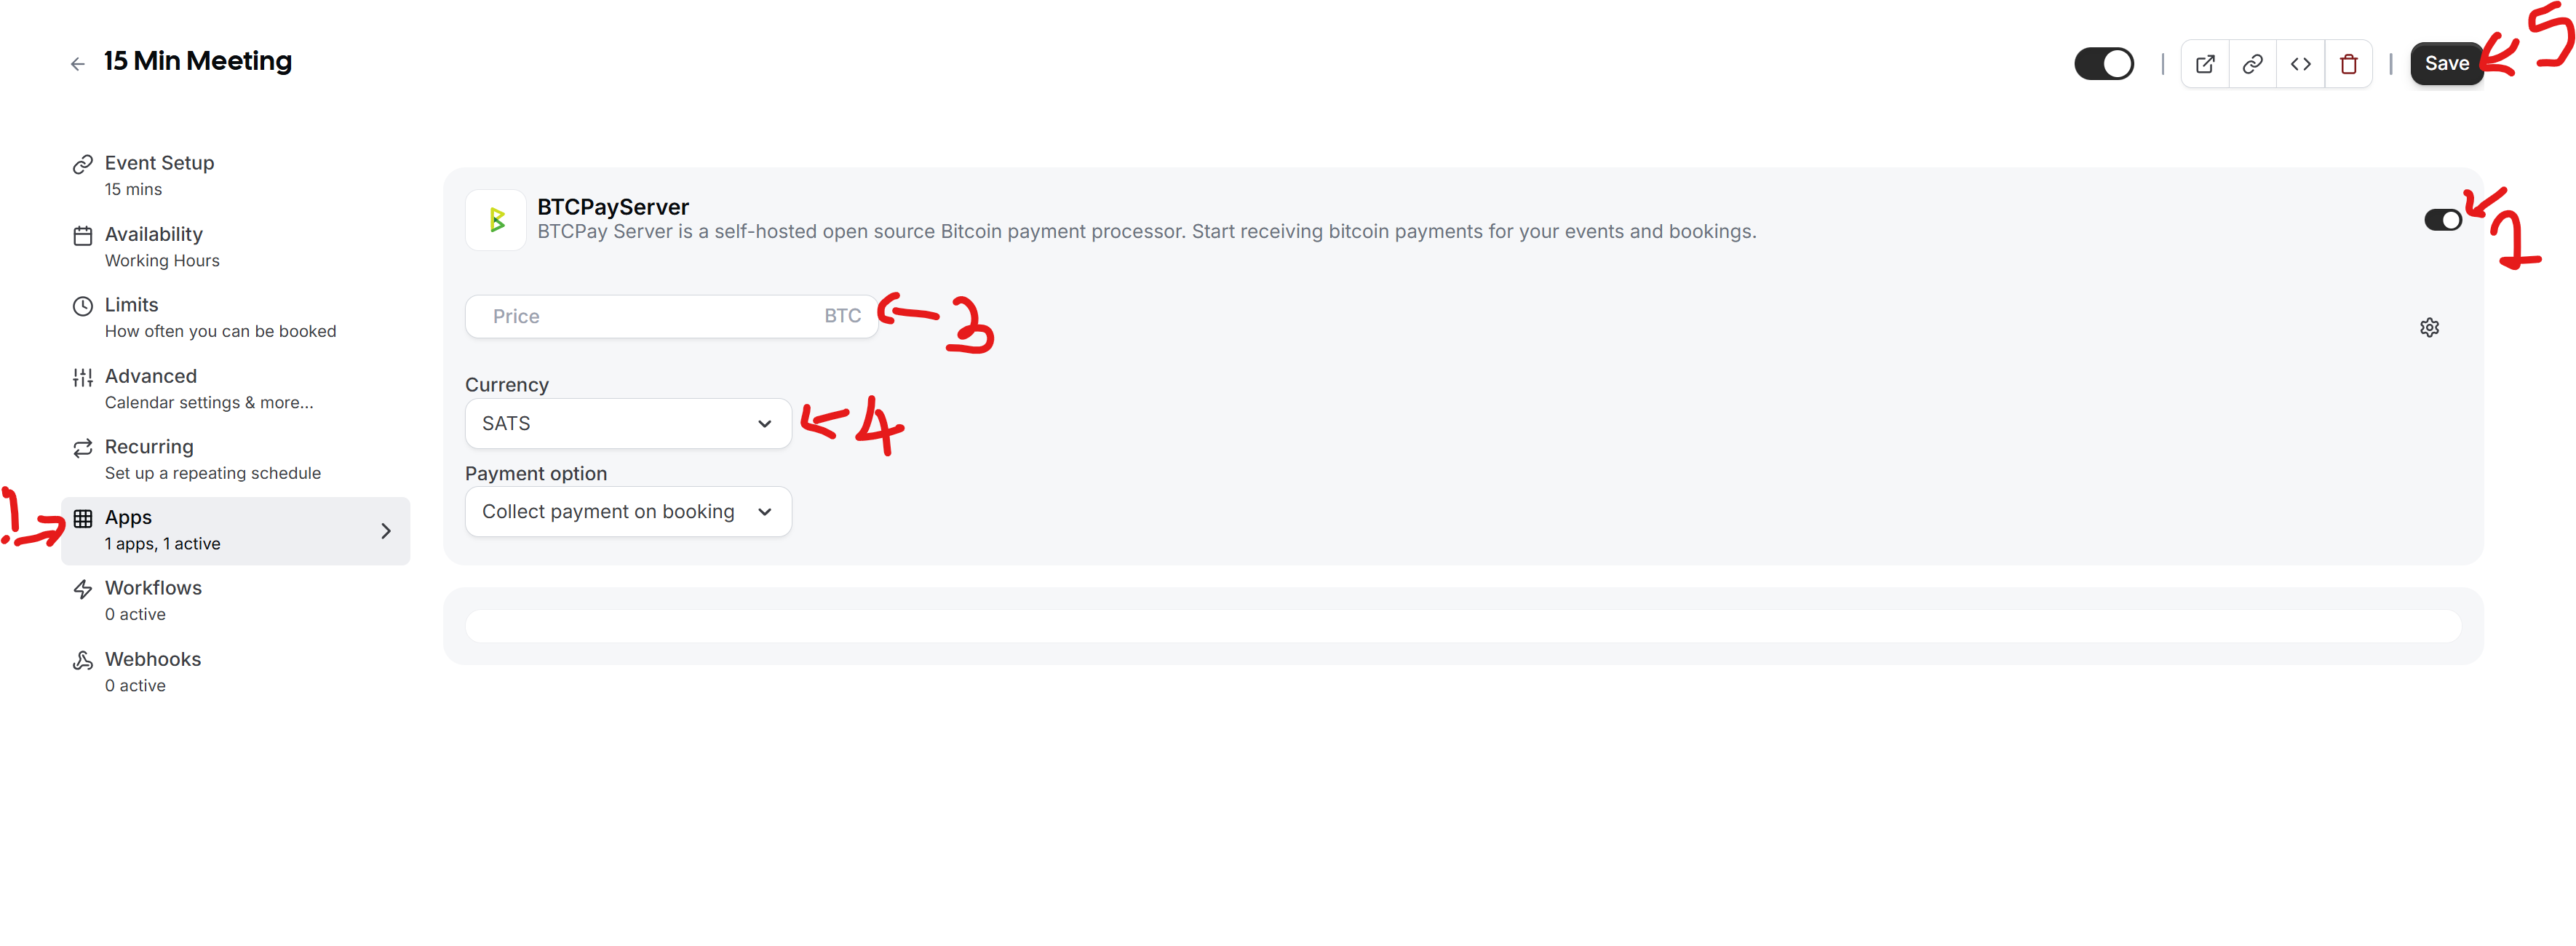
On the edit page, select Apps on the menu, find and enable the BTCPay Server application.
Choose your selected currency and specify an amount. Click save once done.
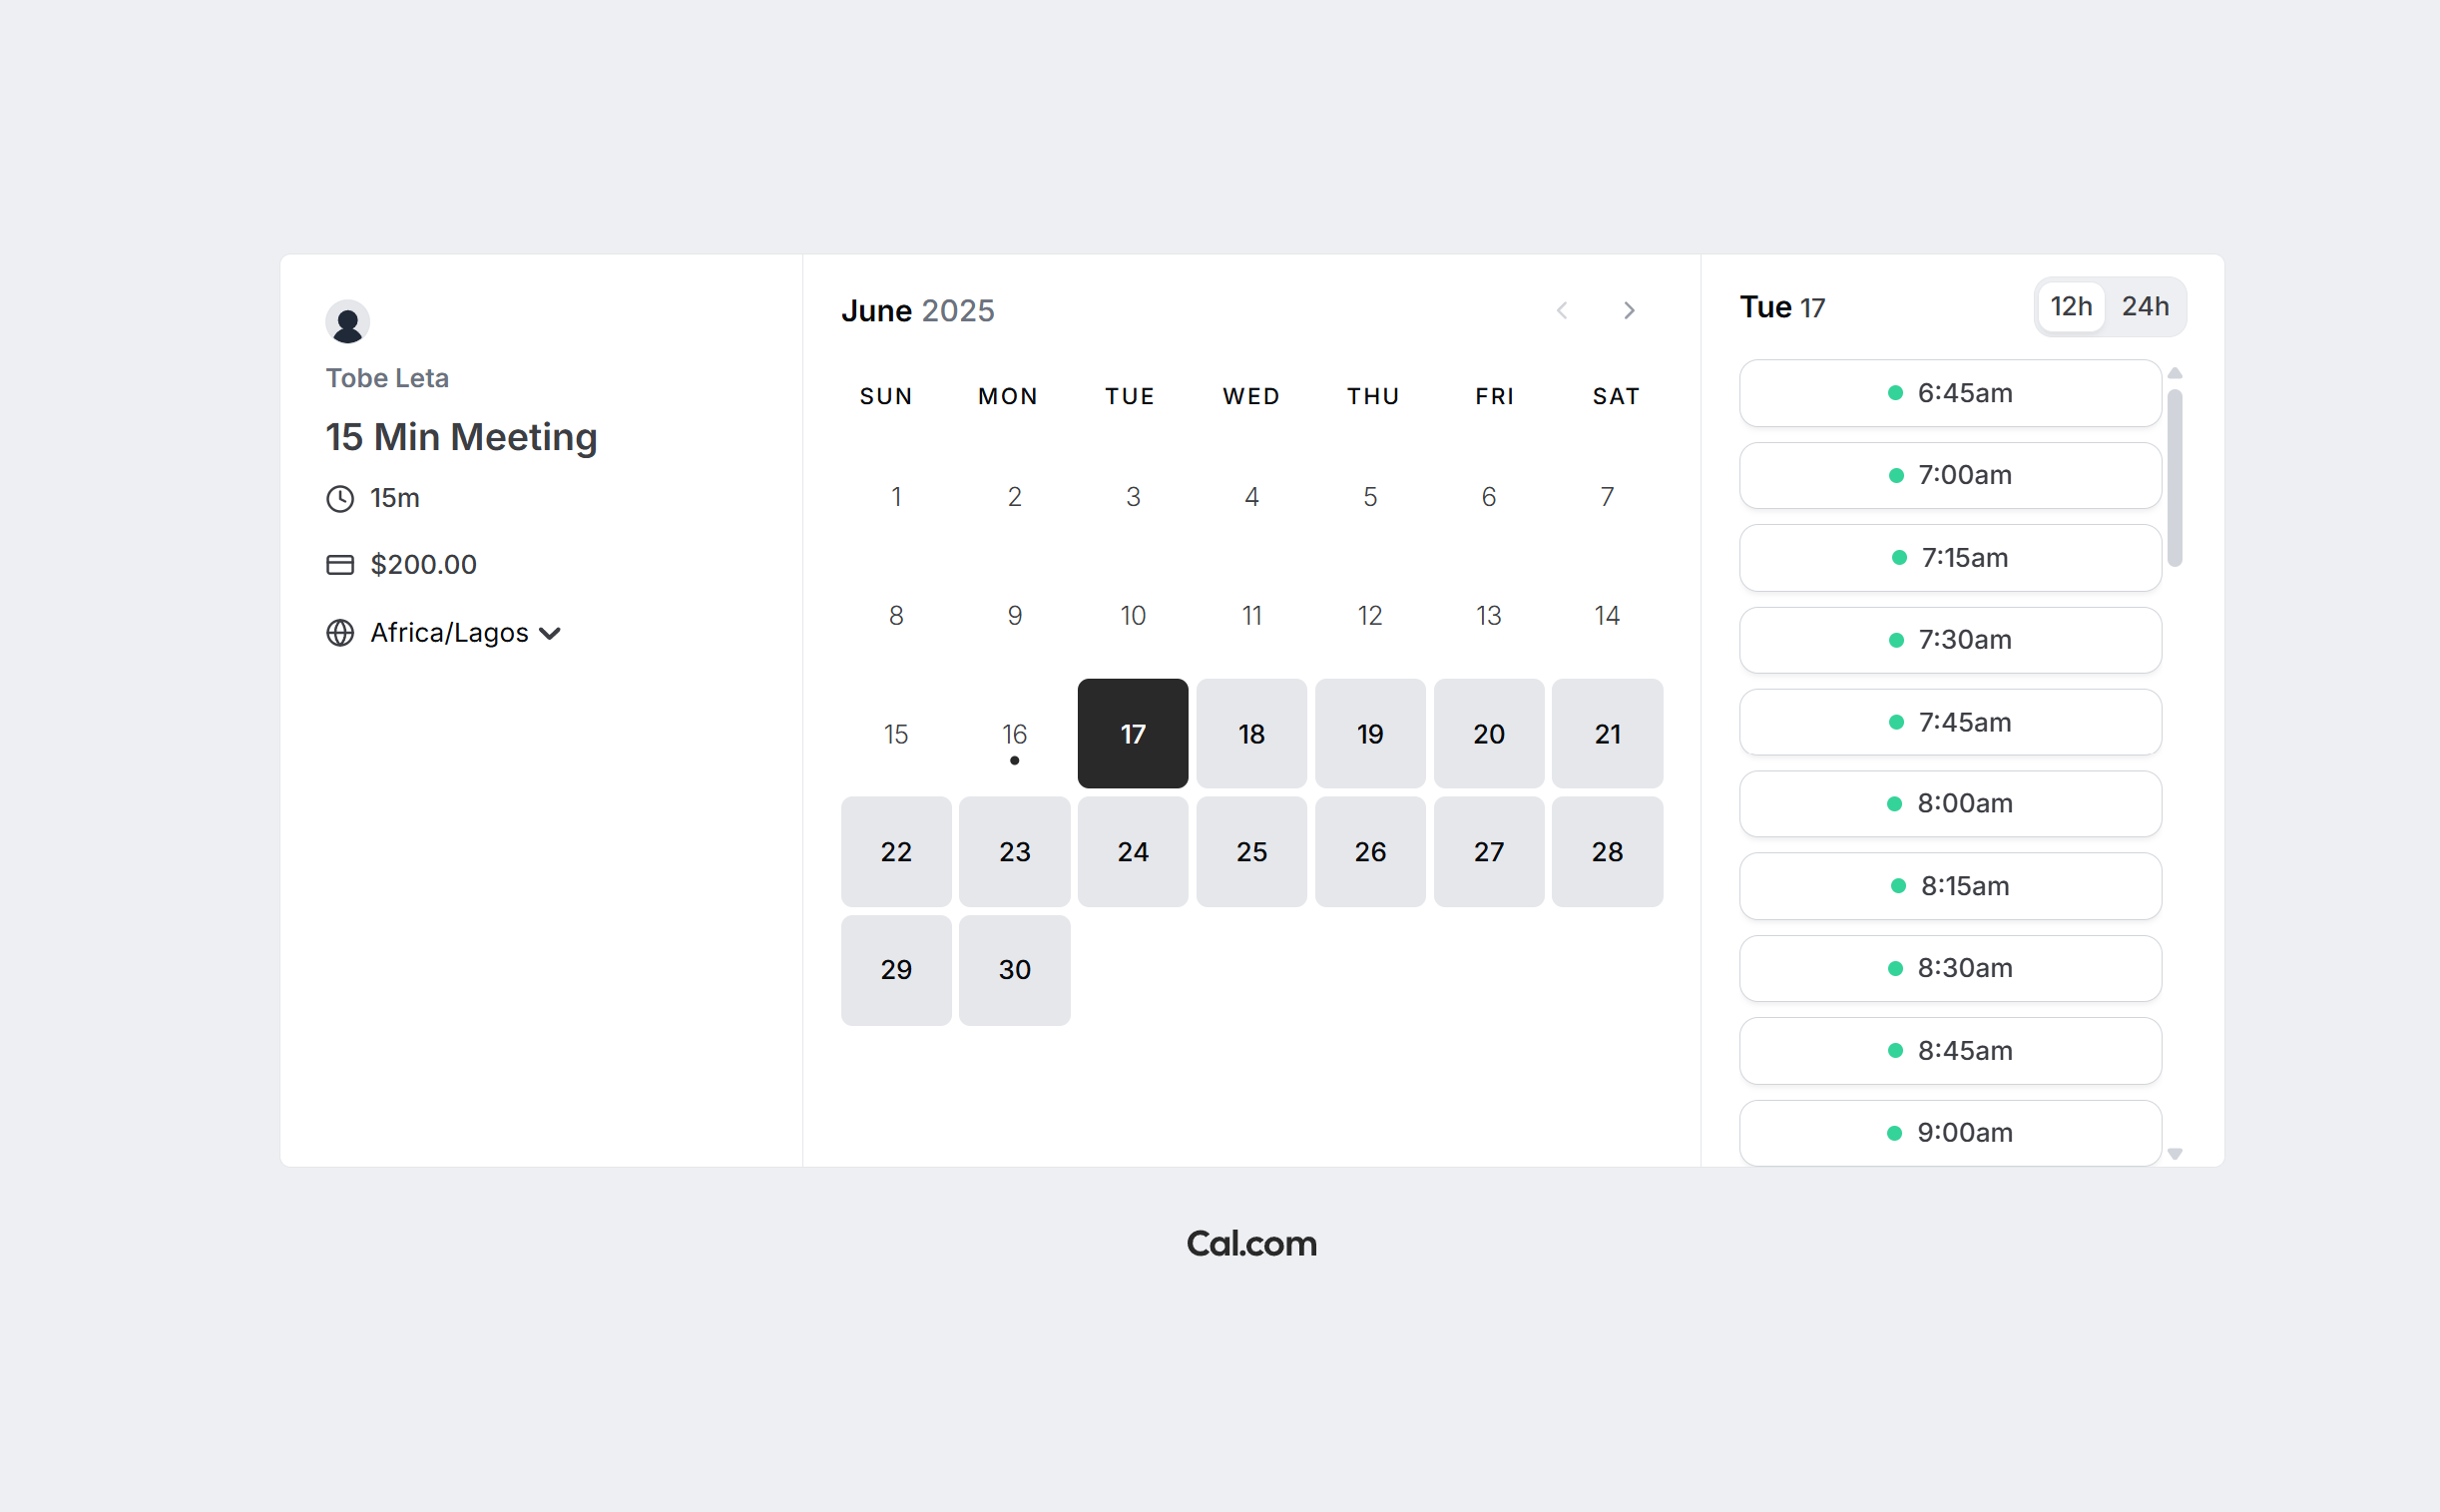
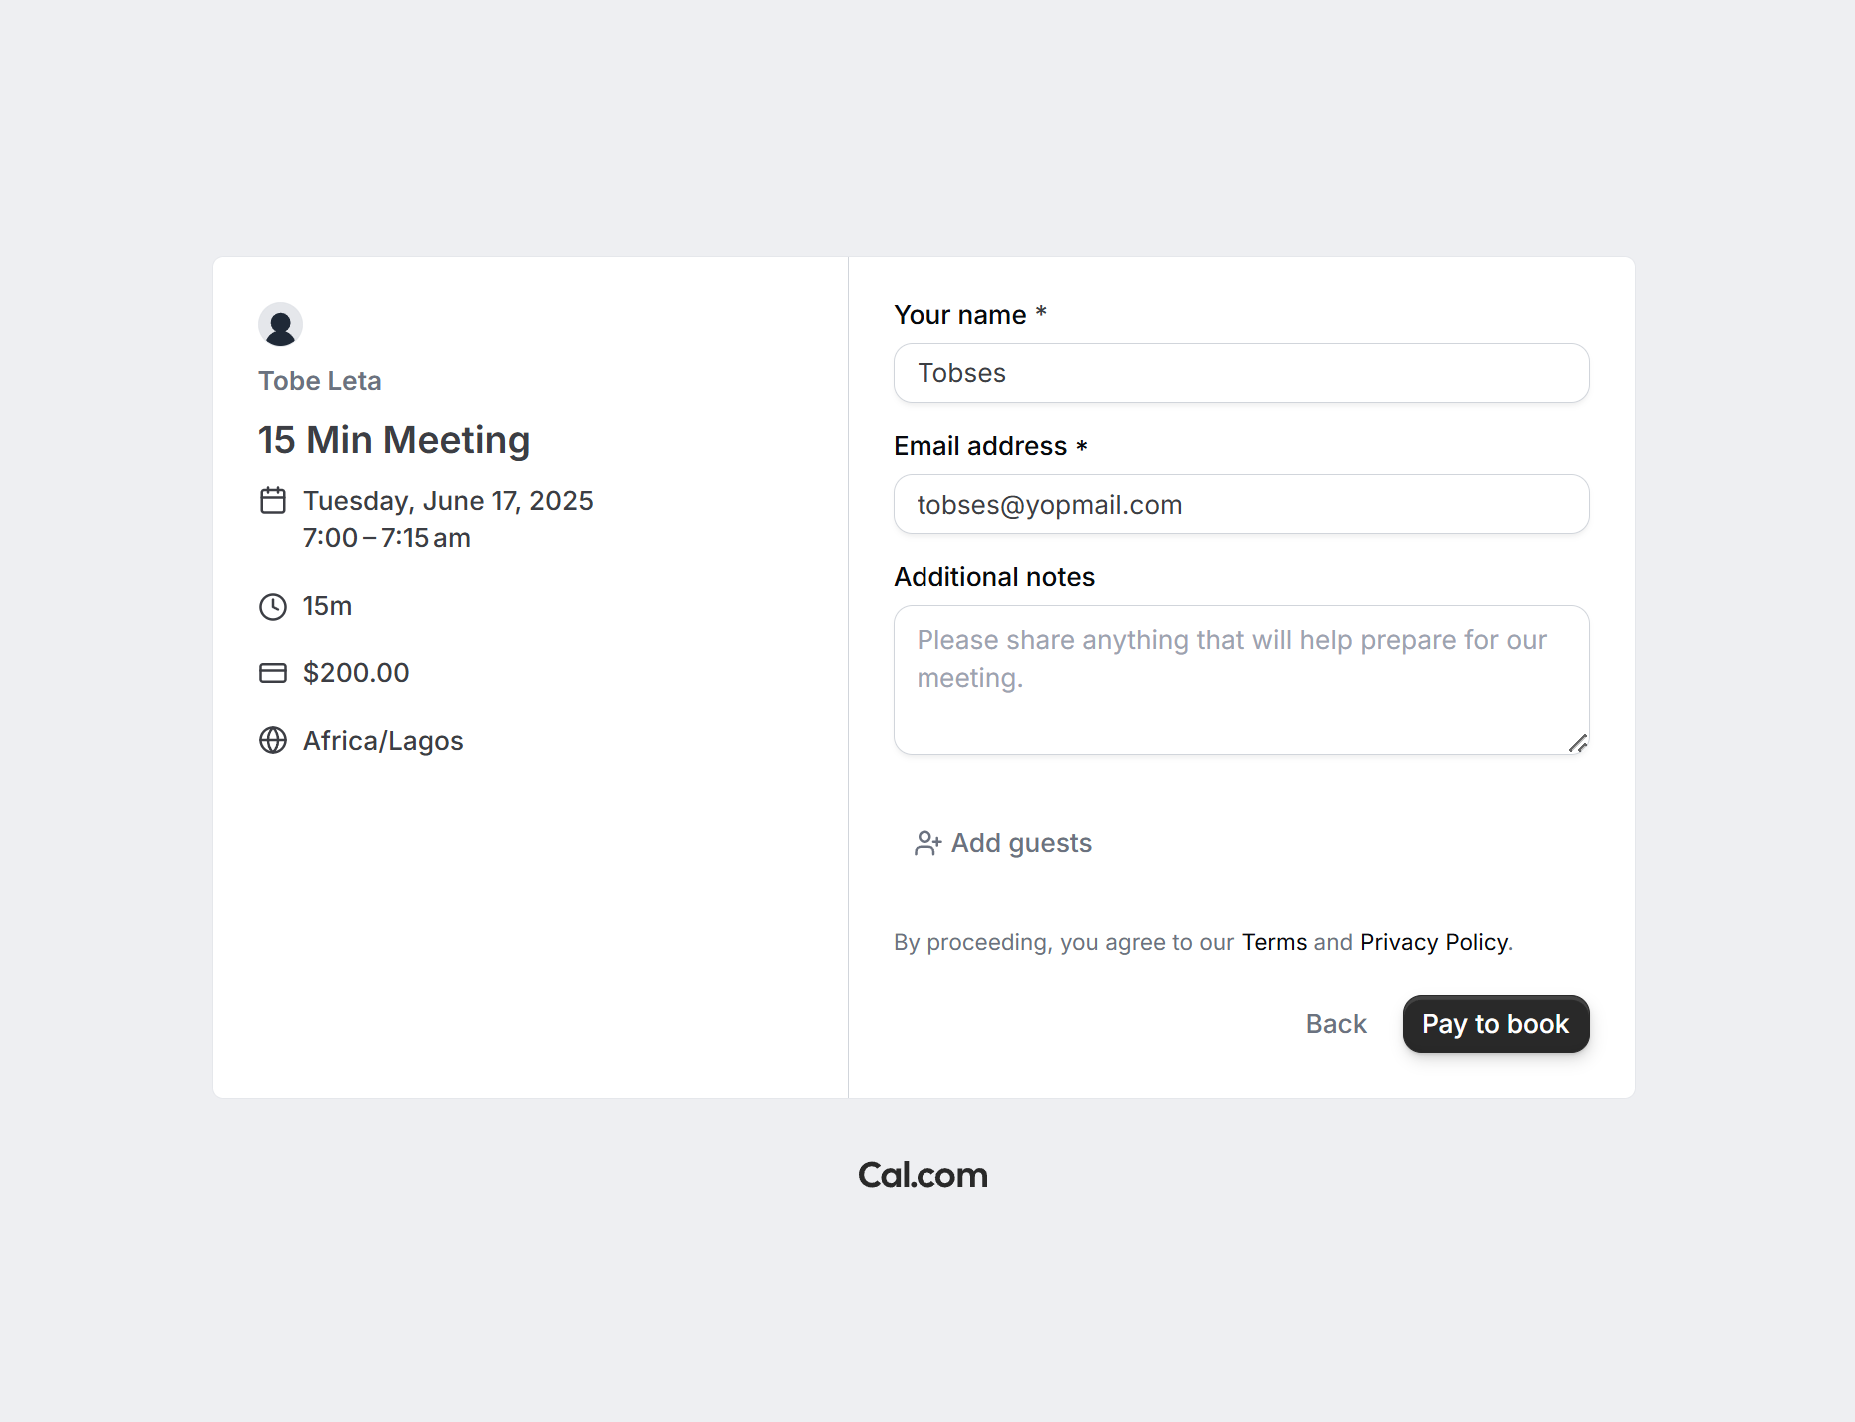
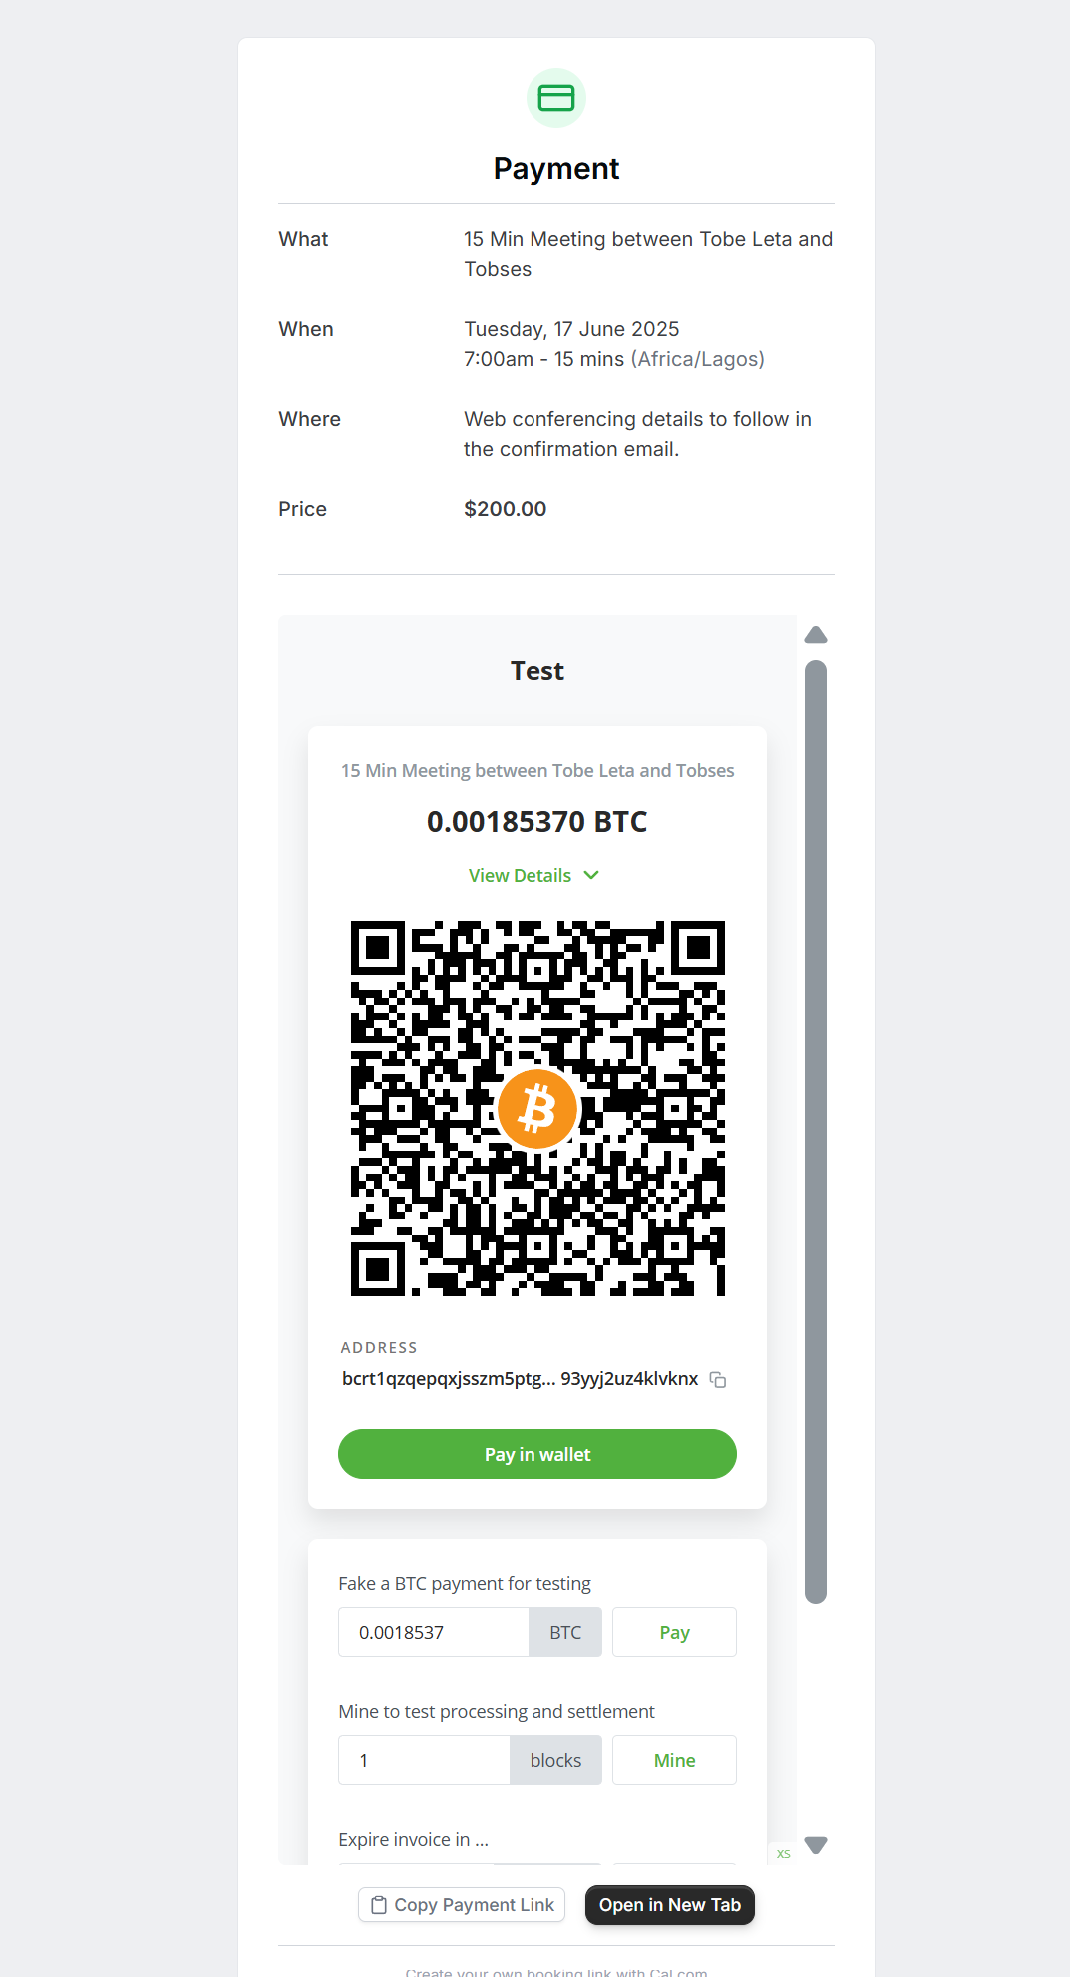
Copy the event link and open in a new tab. Choose your date and time, and click the Pay to book button.
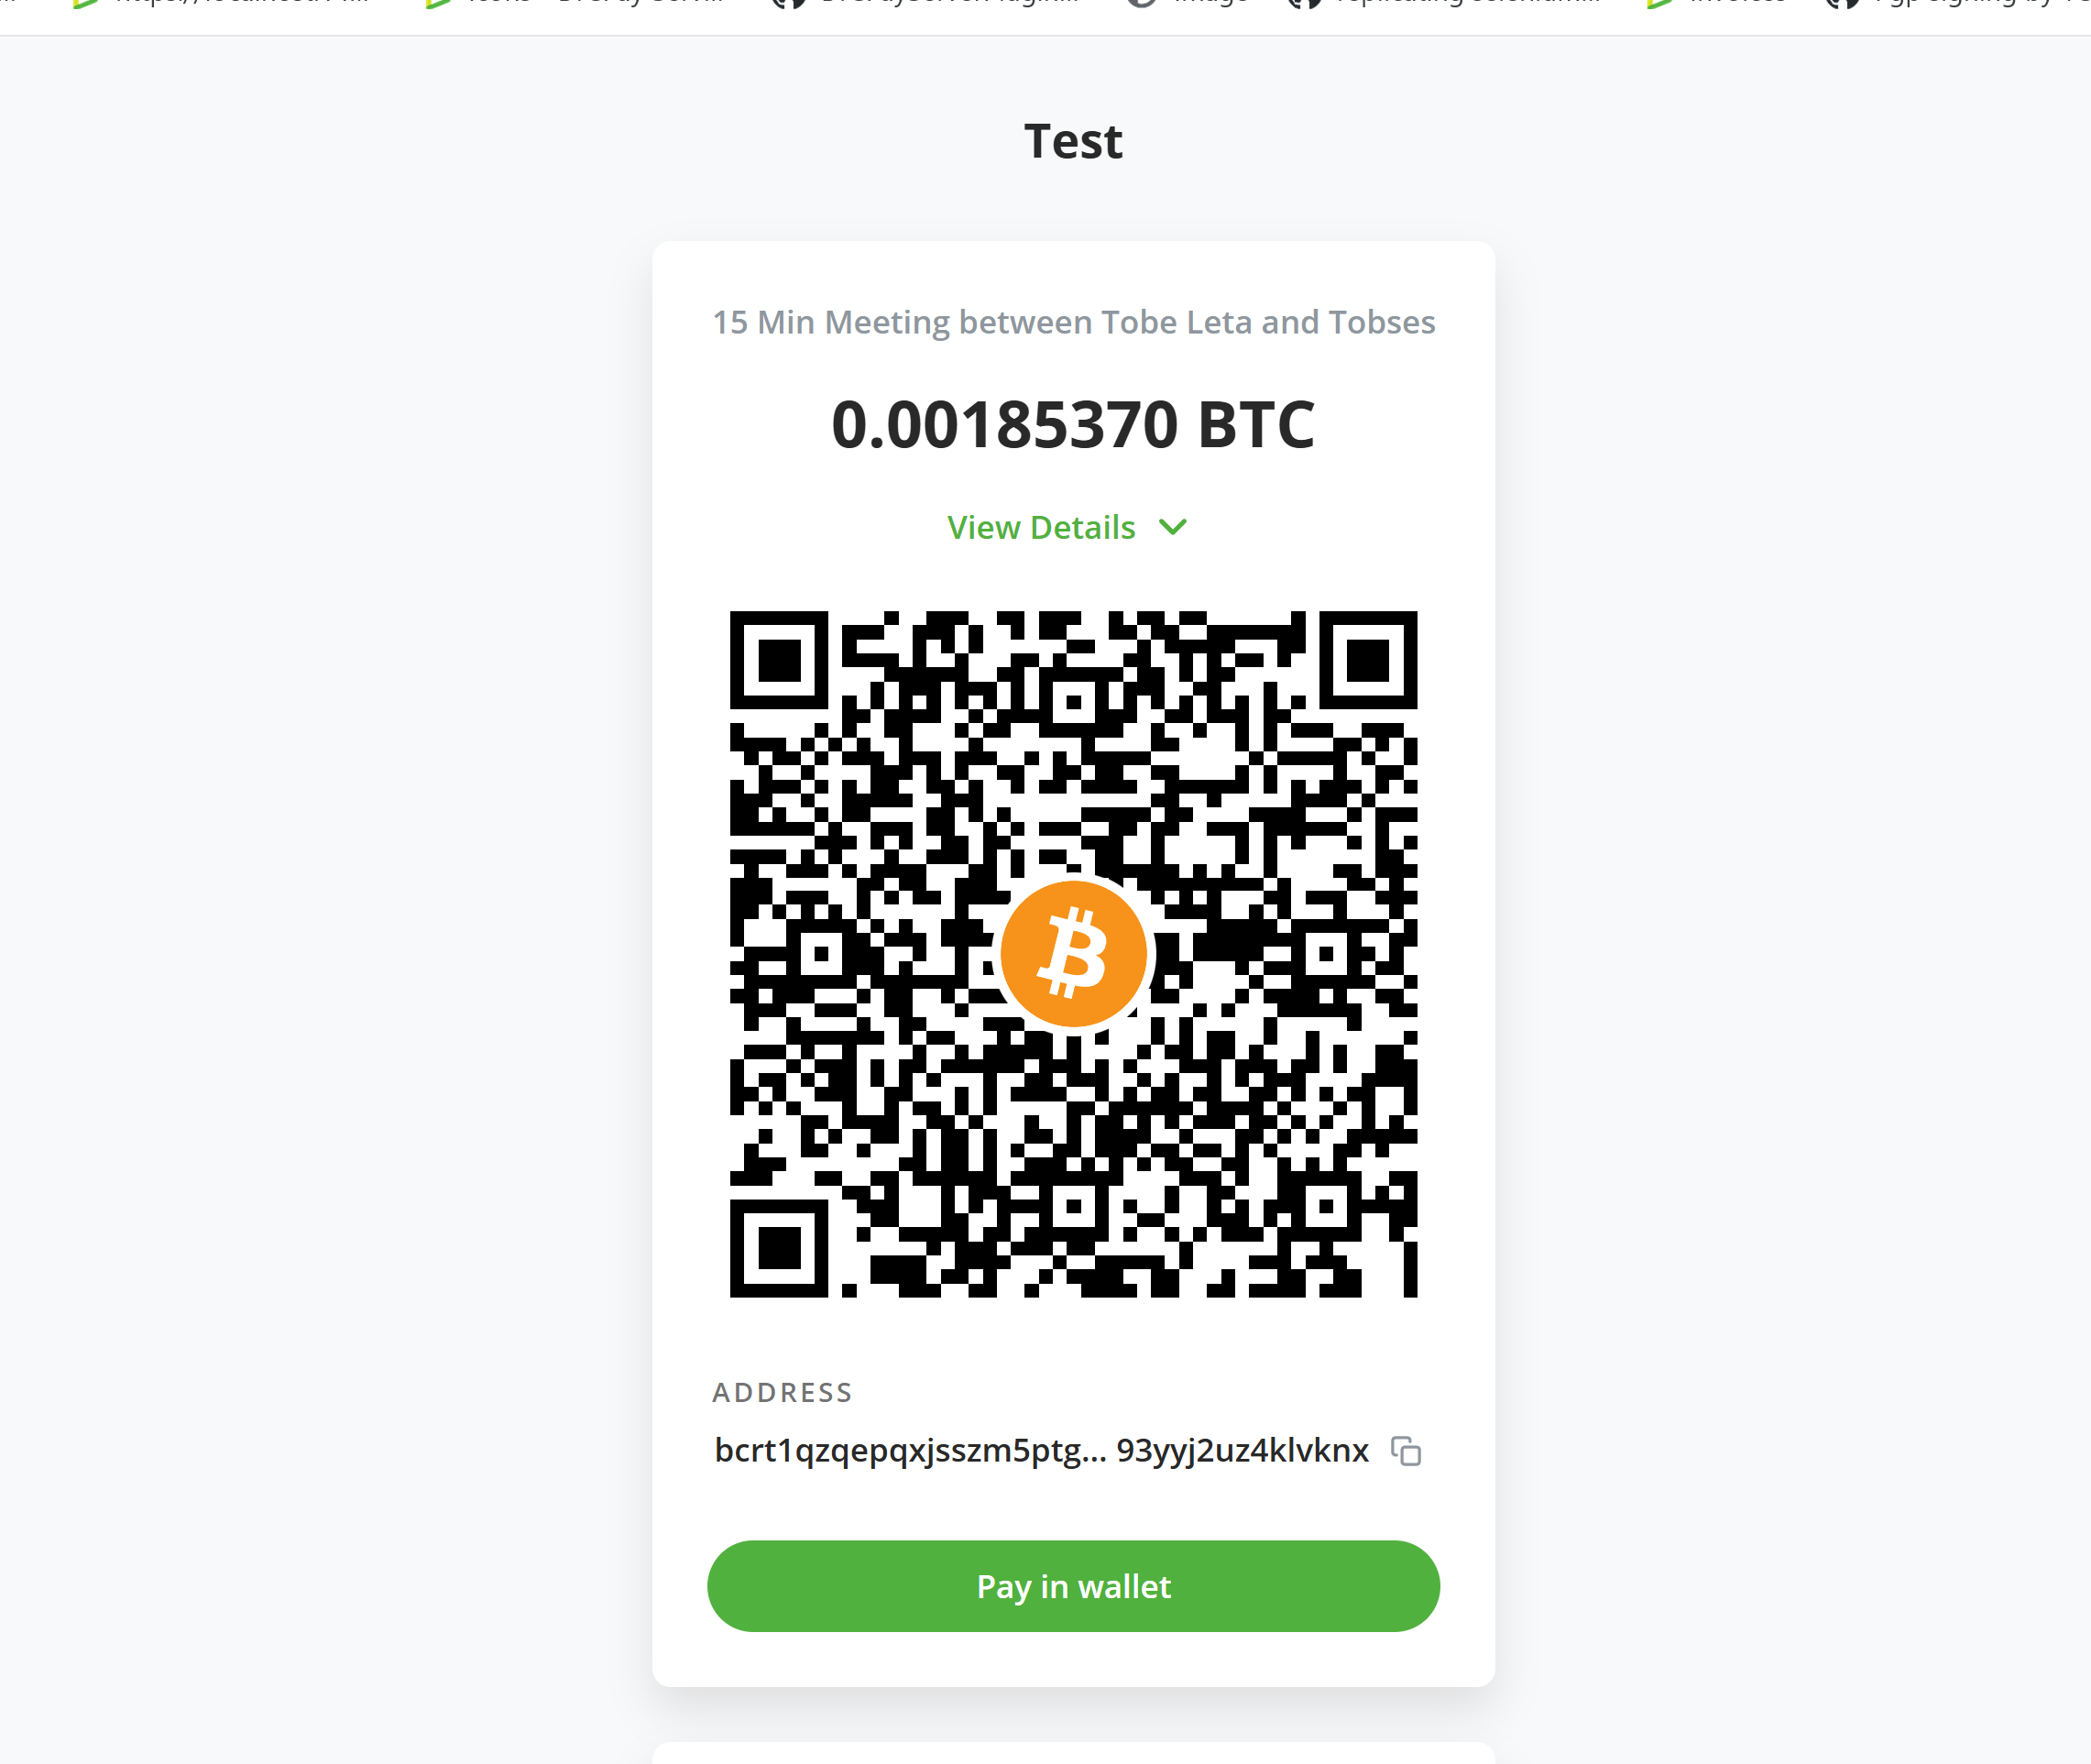
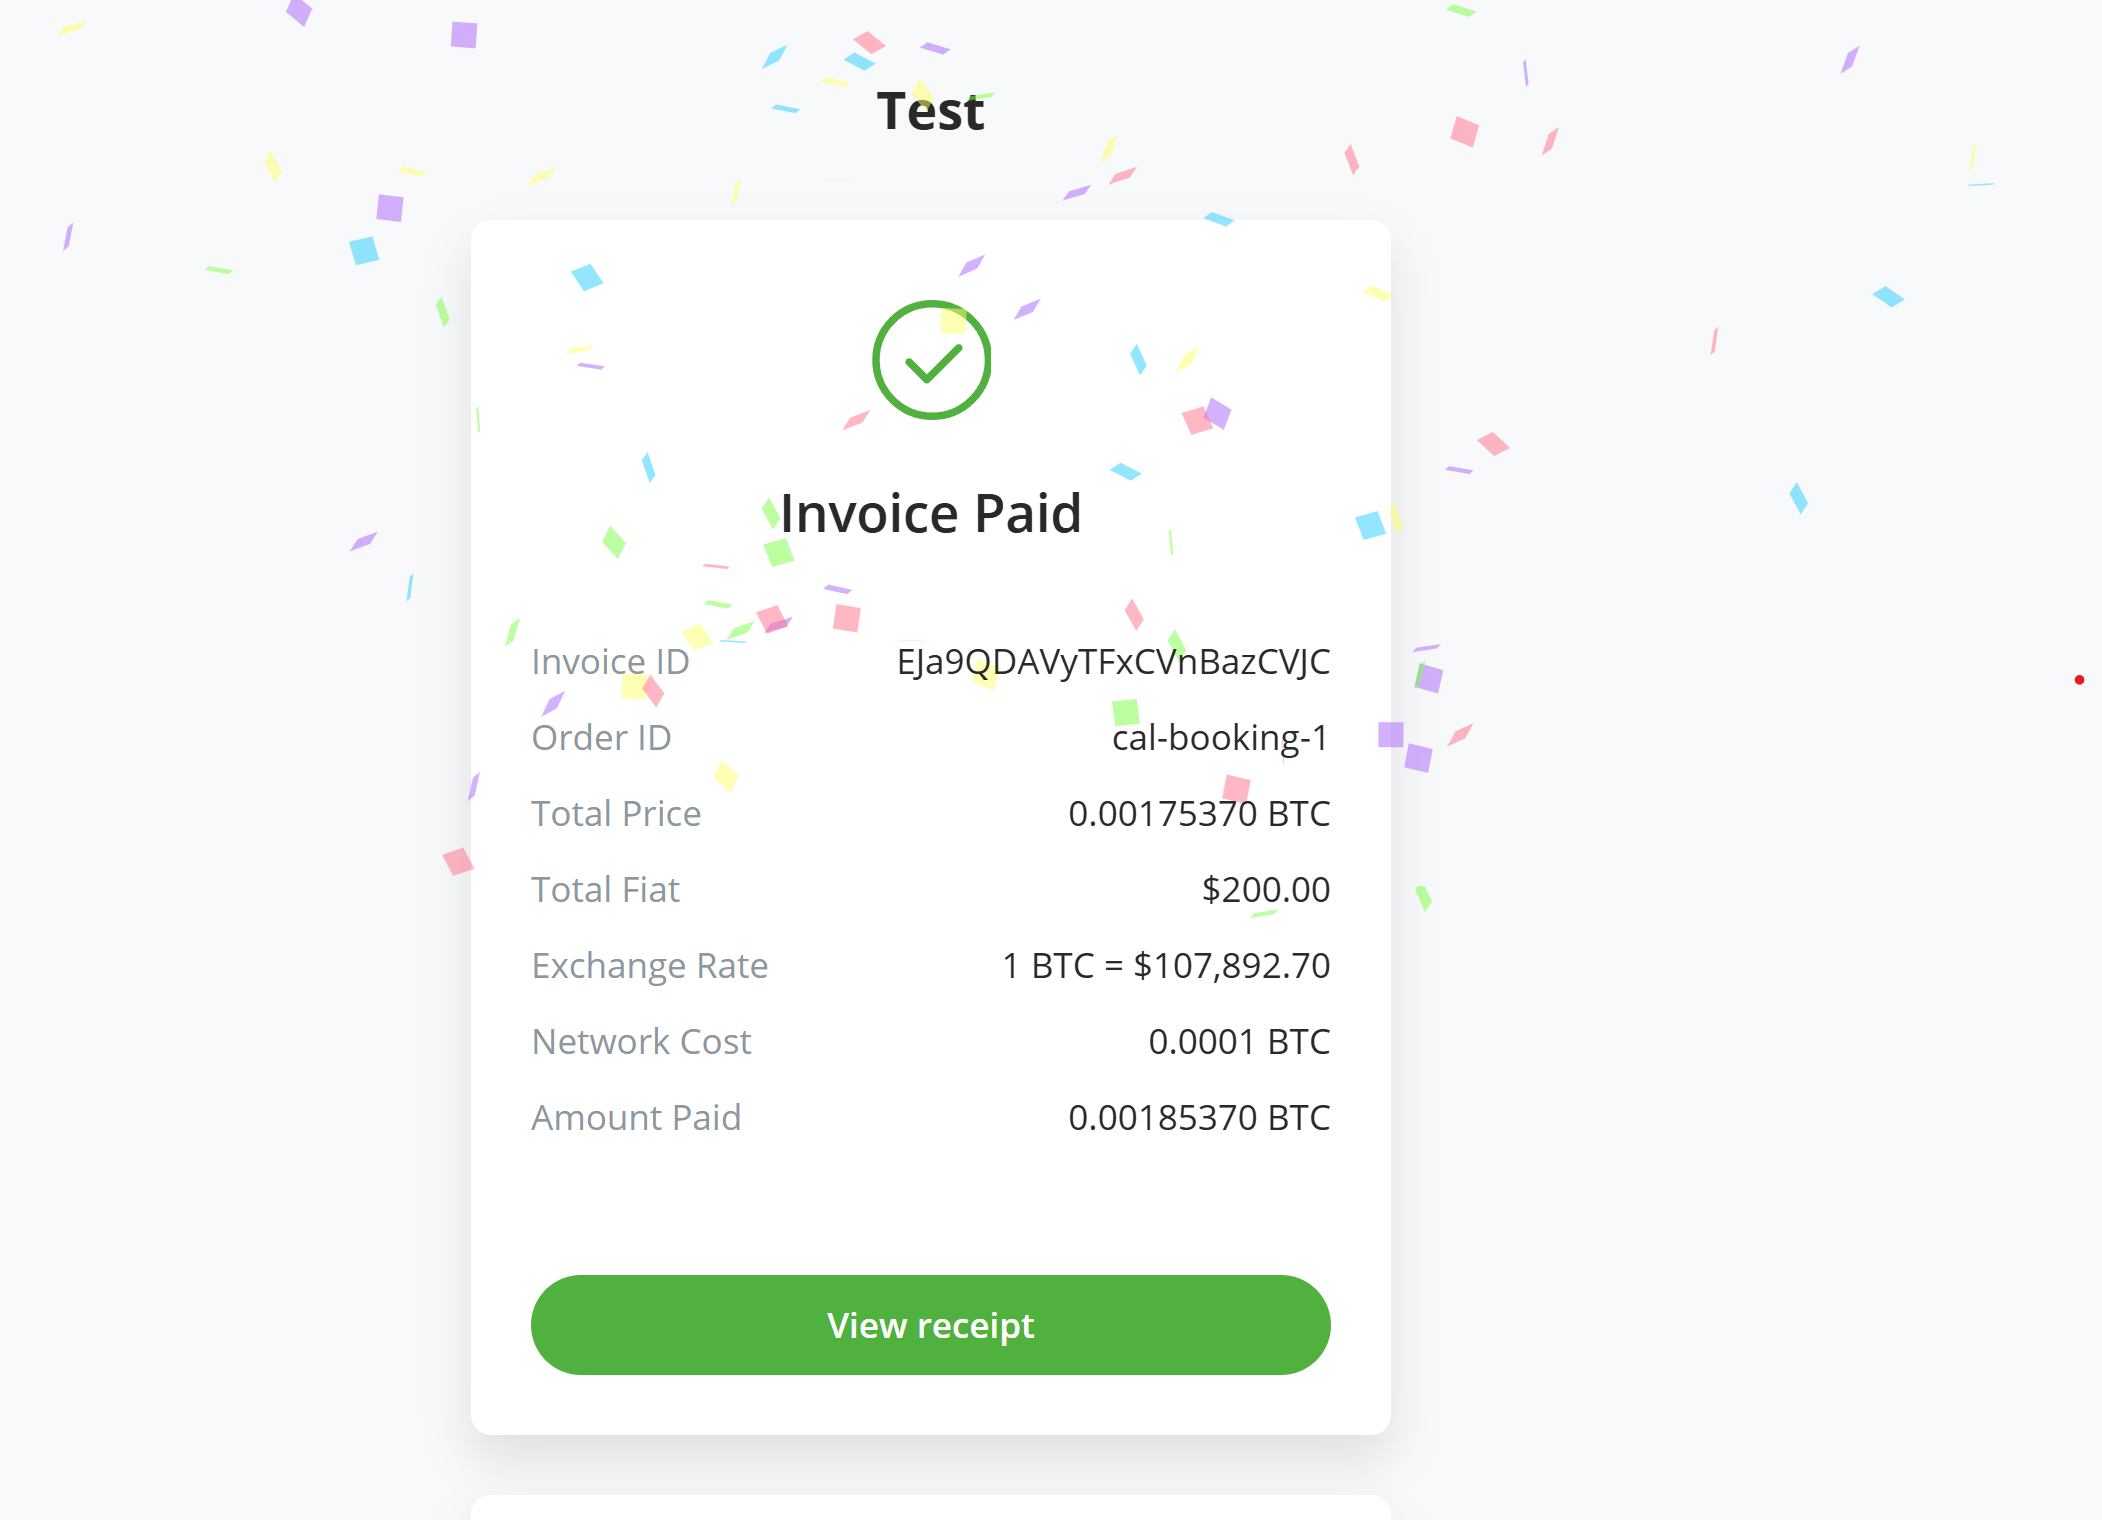
In the next page, you'd need to pay the BTCPay Server invoice. The invoice is displayed in an iFrame, if the view is too small, there is a button below the invoice page to open in a new tab, click on it and complete your payment.
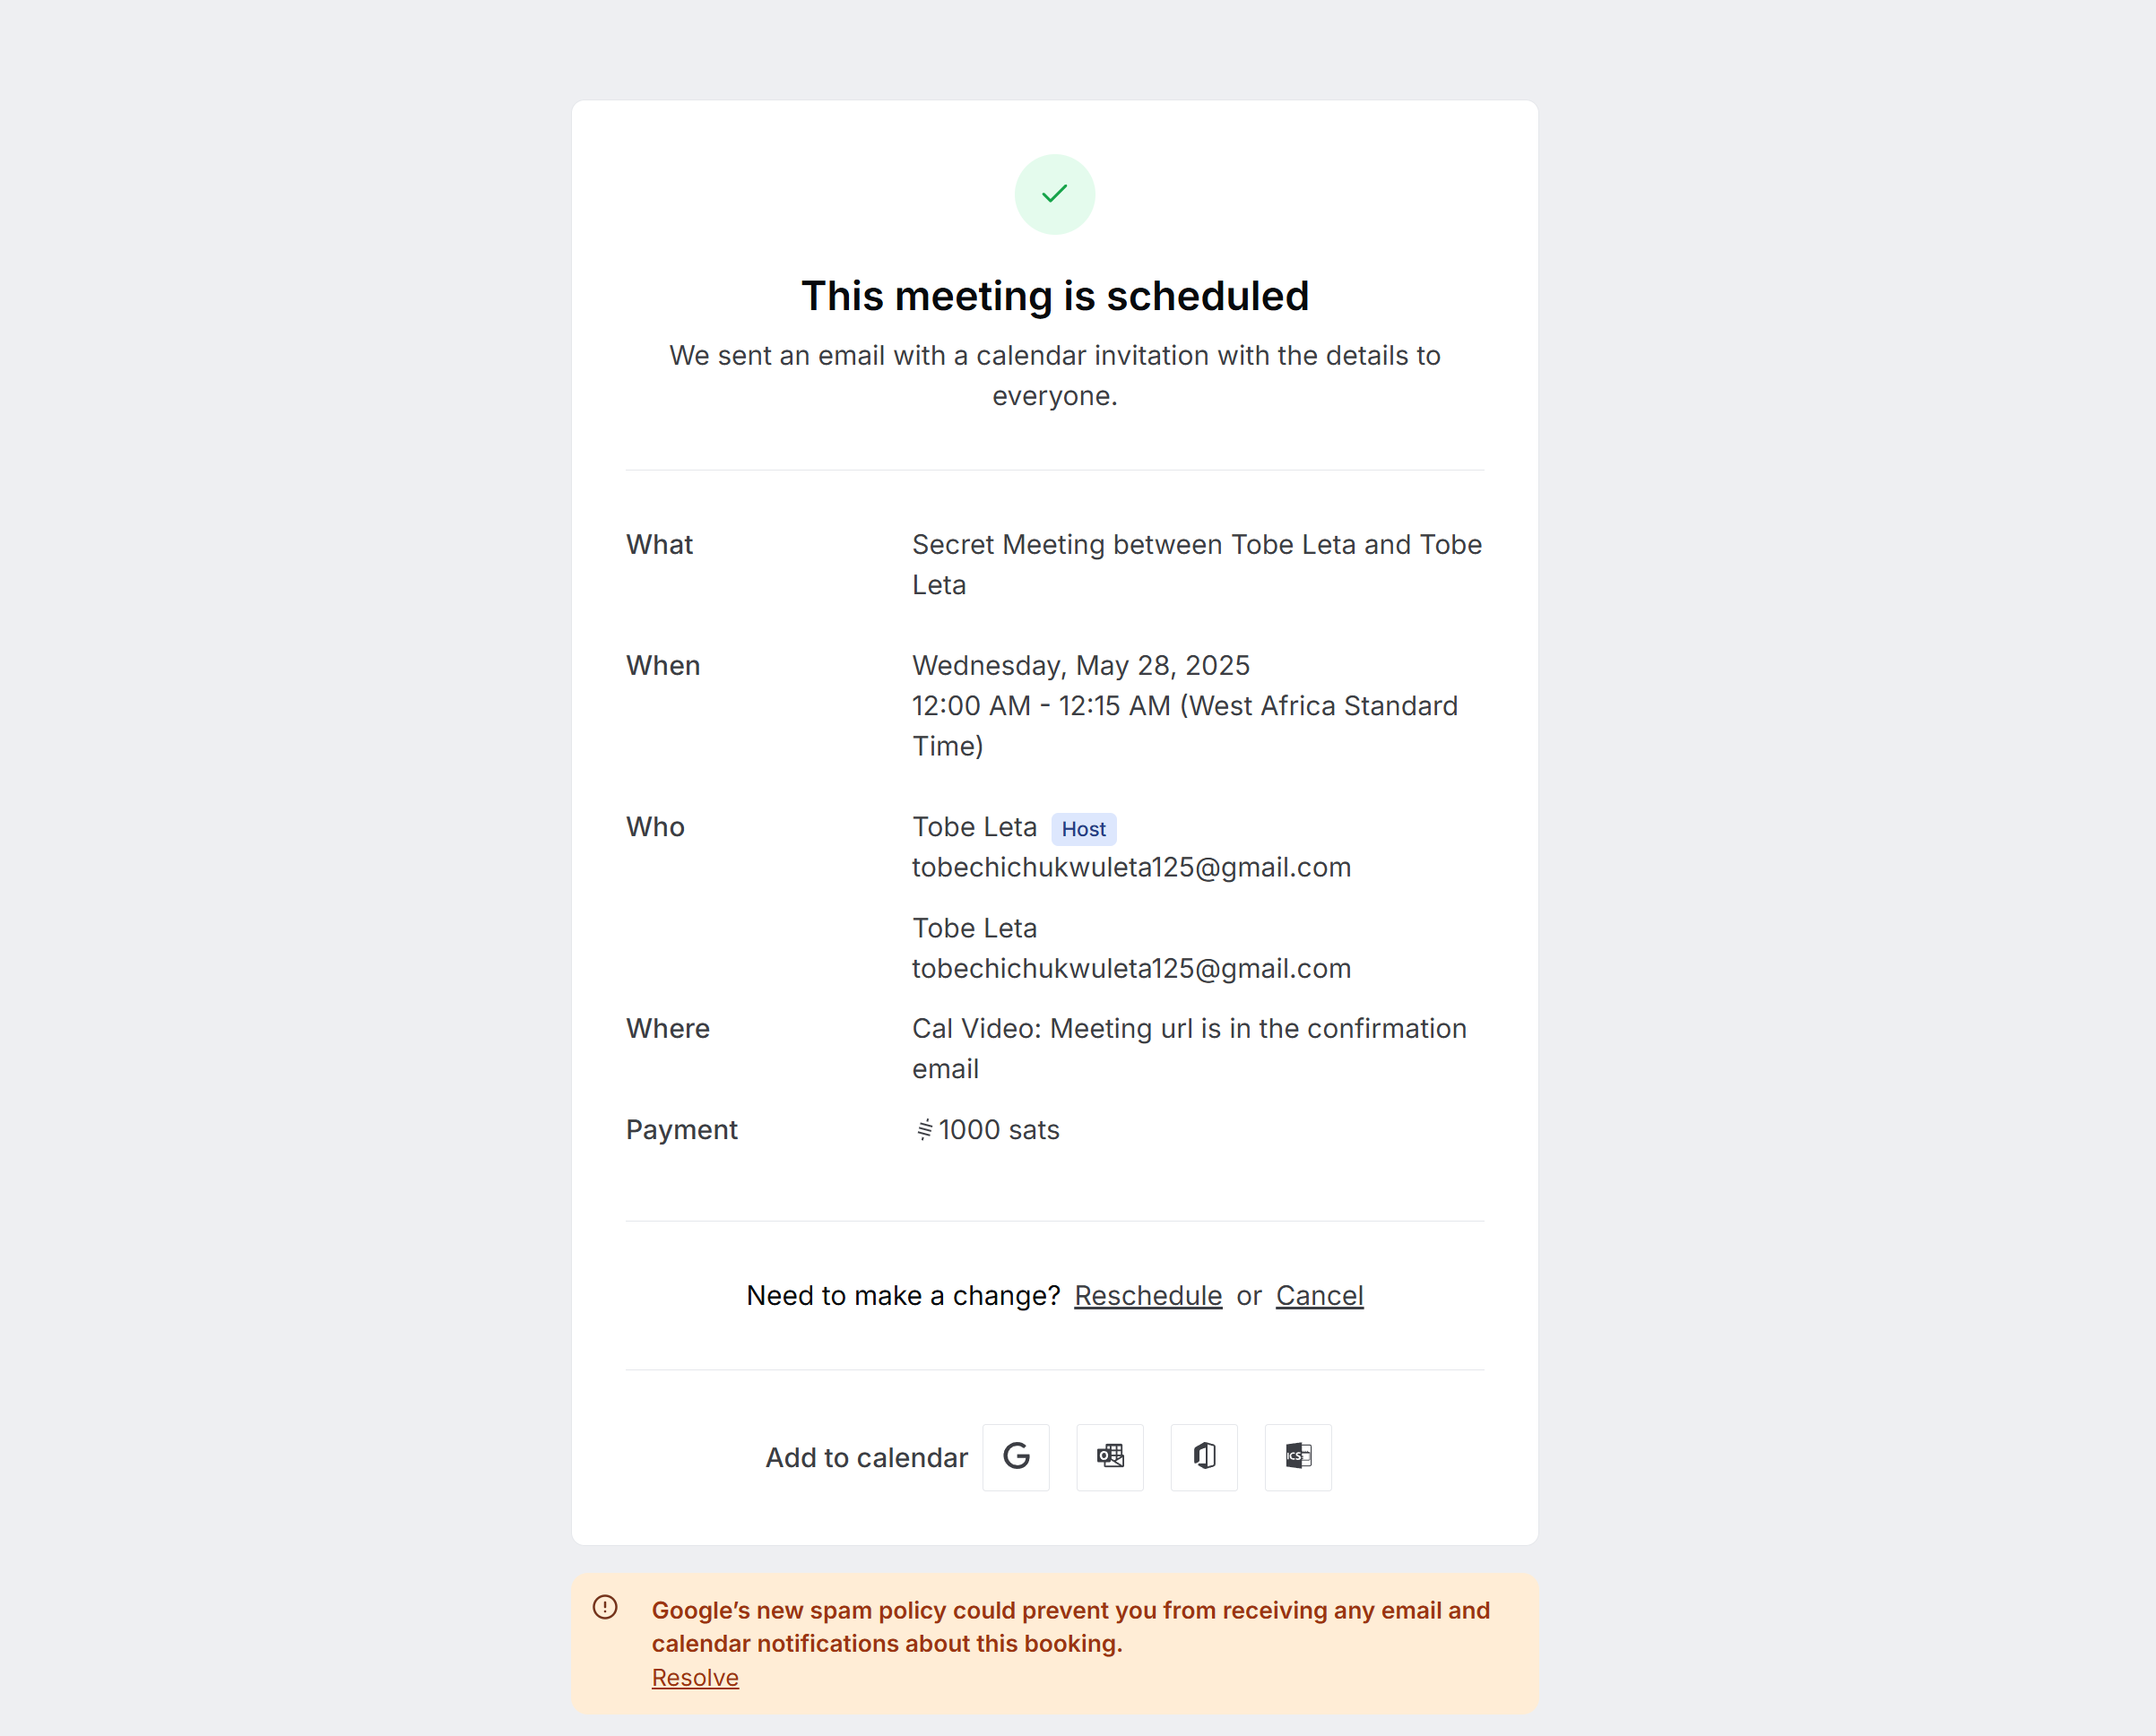
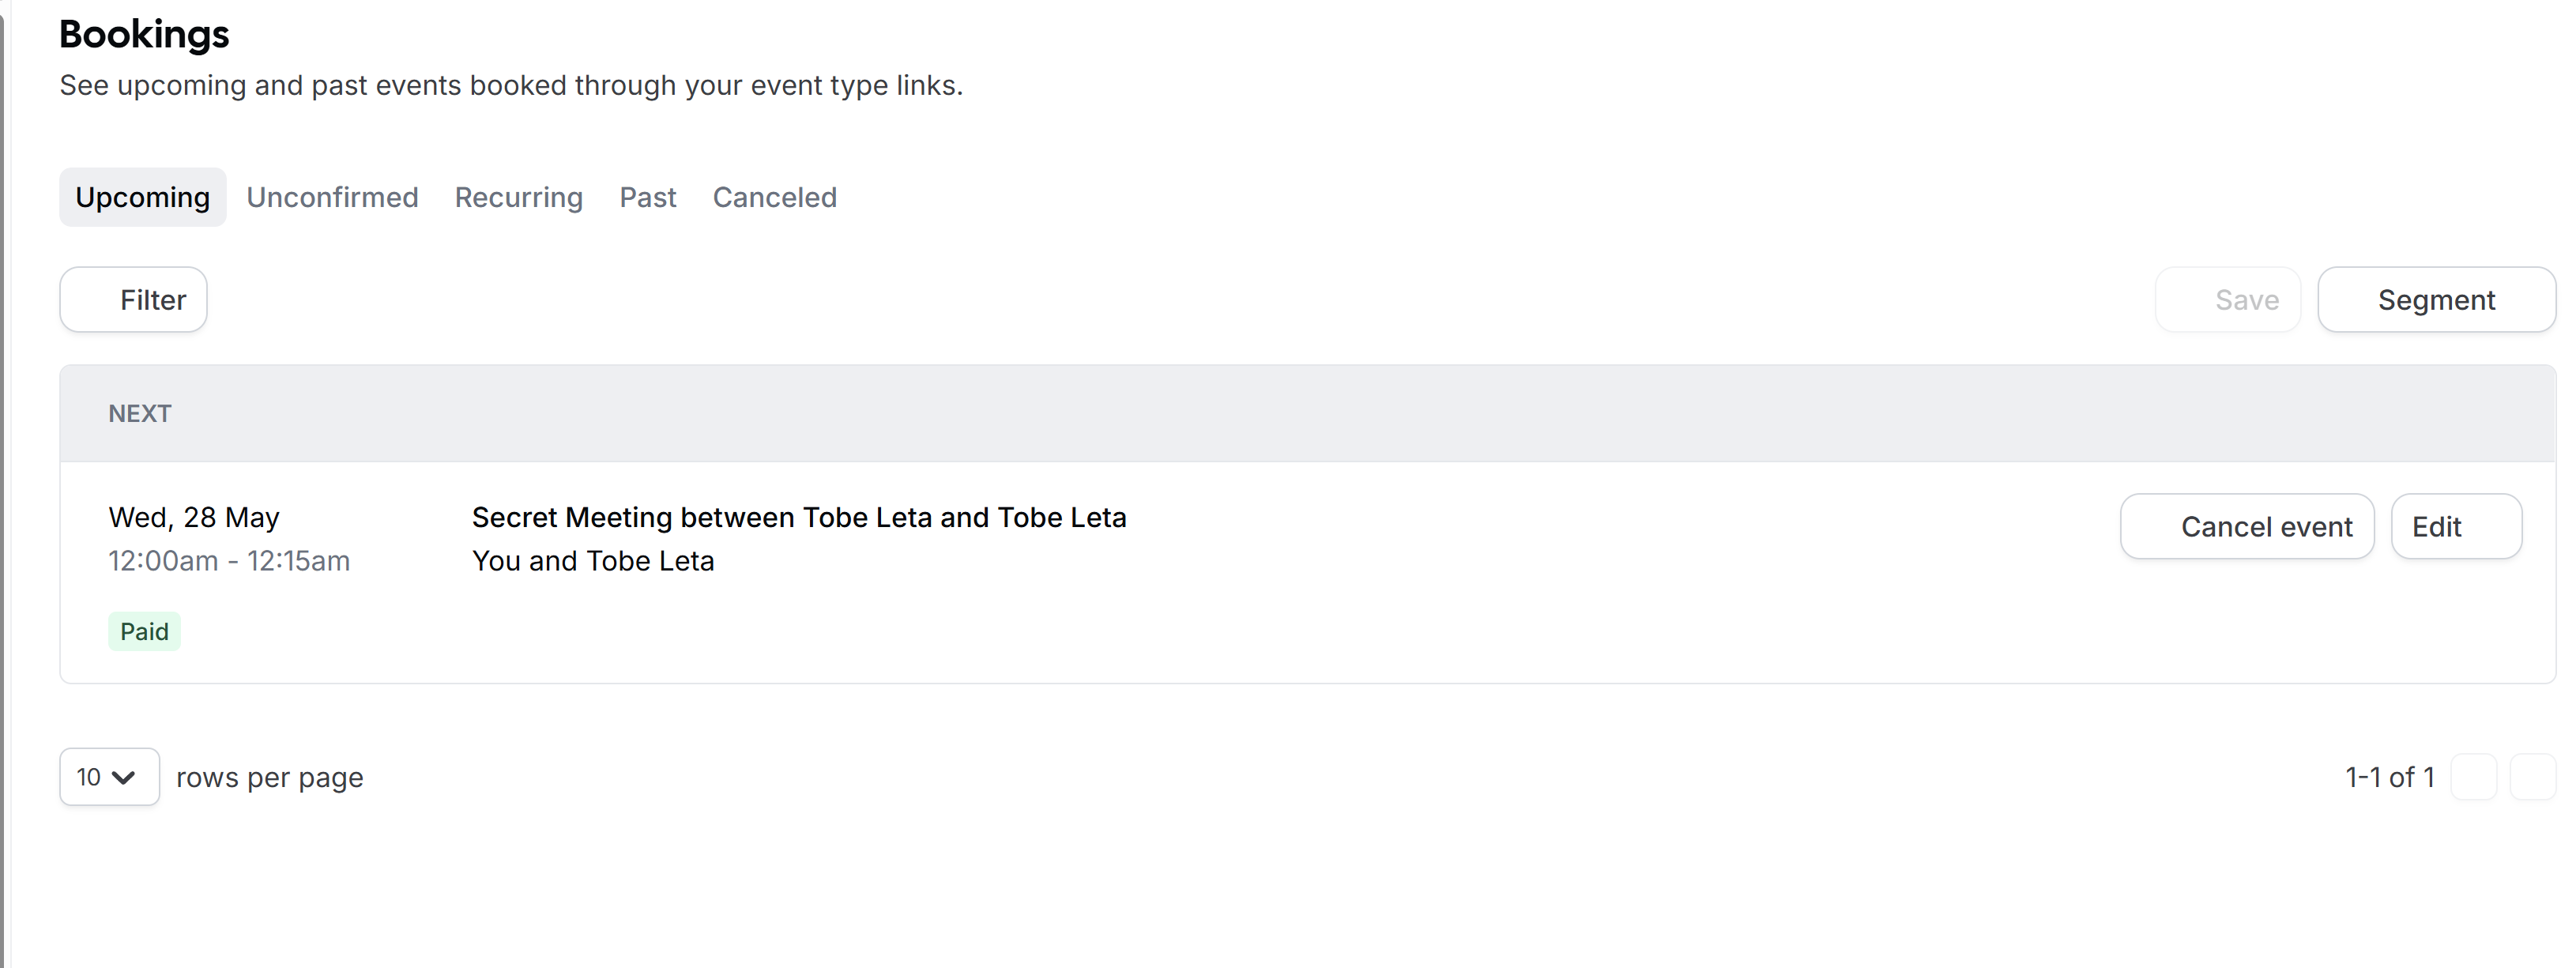
Once your payment is complete, you're redirected to a new page stating that your meeting is scheduled.
Congratulations... Now you can accept Bitcoin payments for your bookings.
# Support and community
Feel free to join our support channel over at Mattermost (opens new window) or Telegram (opens new window) if you need help or have any further questions.
← Big Commerce Drupal →
