# Connecting Electrum Wallet to BTCPay Server
This document explains how to connect a desktop Electrum Wallet (opens new window) to a BTCPay Server.
Word of caution Electrum wallet relies on Electrum servers that are controlled by third-parties. Information, like public addresses, balances and the transacted amount can potentially be leaked.
To protect yourself against such leaks, set up ElectrumX Server or Electrum Personal Server - EPS (opens new window).
You can read about the differences between EPS and ElectrumX here (opens new window).
- Create a Store in BTCPay Server
- Download (opens new window) and install Electrum Wallet
# Electrum Wallet Setup
After the installation, open Electrum Wallet by clicking on the icon on your desktop.
# Quick Setup
The easiest way to setup your Electrum wallet with BTCPay is to import an a wallet file backup to your BTCPay Server.
- Create a new Electrum Wallet
- In Electrum, File > Save Backup > Save in folder
- In BTCPay Server, Store > Settings > Setup > Import Wallet File > Choose File > Continue
- Go to Receive tab in Electrum.
- Compare the addresses in Electrum and BTCPay Server, they should match.
- Confirm the address match in BTCPay.
# Step by Step
The following setup guides you through setting up an entirely new Bech32(SegWit) Wallet in Electrum. If you already have a wallet skip to the Extended Public Key copying.
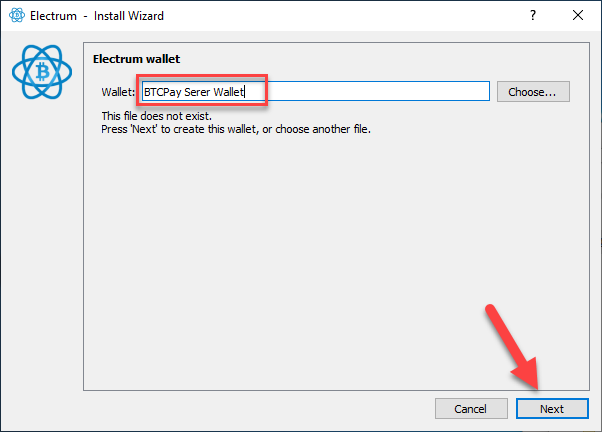
Firstly, give your wallet a name, for example, BTCPay Server Wallet and click Next.
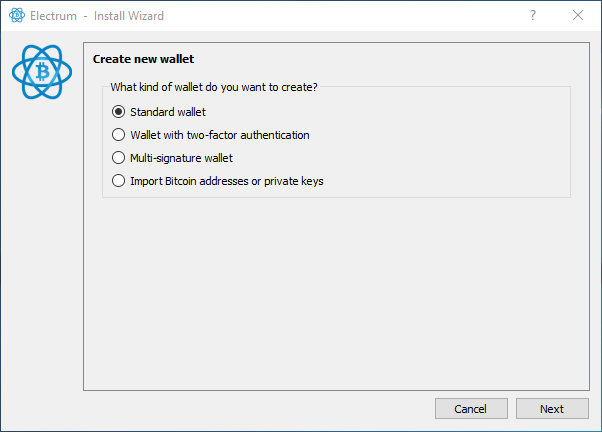
Choose Standard wallet and proceed by clicking the Nextbutton.
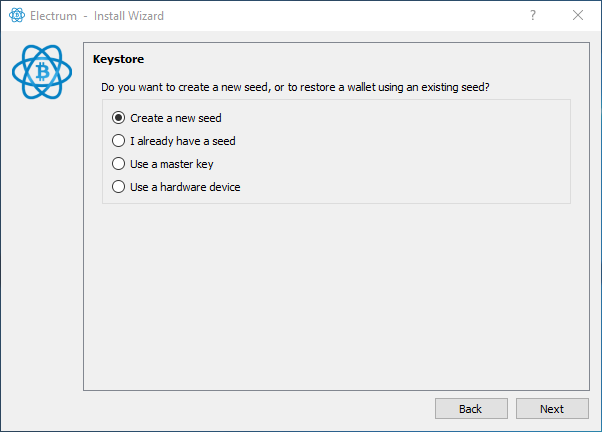
Since we're creating a brand-new wallet,choose Create a new seed and Next
From the multiple choice menu, select SegWit and Next
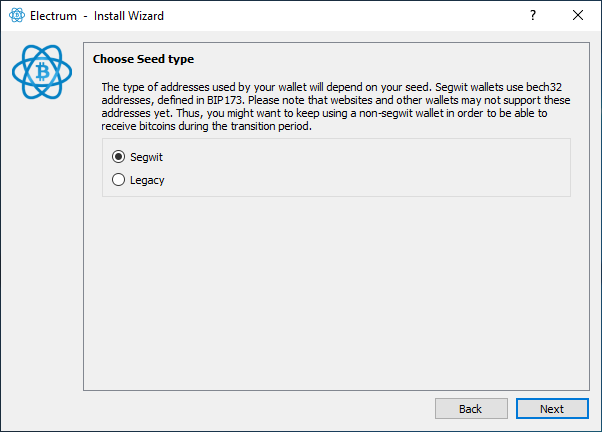
IMPORTANT NOTE: If you're a merchant, instead of SegWit (Bech32), it's recommended to use SegWit wrapped (P2SH) format. This guide (opens new window) explains how to create P2SH wallet in Electrum that's more suited for merchants, due to compatability with legacy wallets customers use.
IMPORTANT NOTE 2: Write down your recovery words in the order you see them on the screen. Write them down a piece of paper and store it somewhere secure. Take your time and triple check each word. Do not store your seed in a digital format (photograph, text document). Whoever has the access to your seed can access your funds. Confirm that the seed has been properly backed up by re-entering it in the same order. Once the seed is validated, proceed to the next step.
Copy and paste your seed words to complete your wallet creation in Electrum. Your wallet must be unencrypted to import it into your BTCPay Server. Once you have completed the setup of your wallet in BTCPay you can always add password encryption later in Electrum.
Follow along in the video below on how to import into BTCPay Server.
# Alternative Setup
Instead of importing a wallet file you can instead transfer the public key to your BTCPay Server. This can be useful if your wallet is encrypted and you do not want to unencrypt it.
- Create a new Electrum Wallet
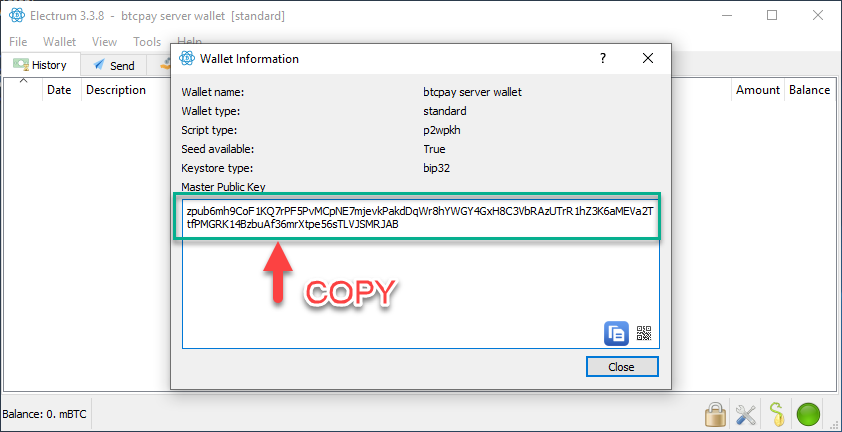
- In Electrum, Wallet > Wallet Information - copy the Master Public Key.
- In BTCPay Server, Store > Settings > Setup > Connect an existing wallet > Enter extended public key
- Go to Receive tab in Electrum.
- Compare the addresses in Electrum and BTCPay Server, they should match.
- Confirm the address match in BTCPay.
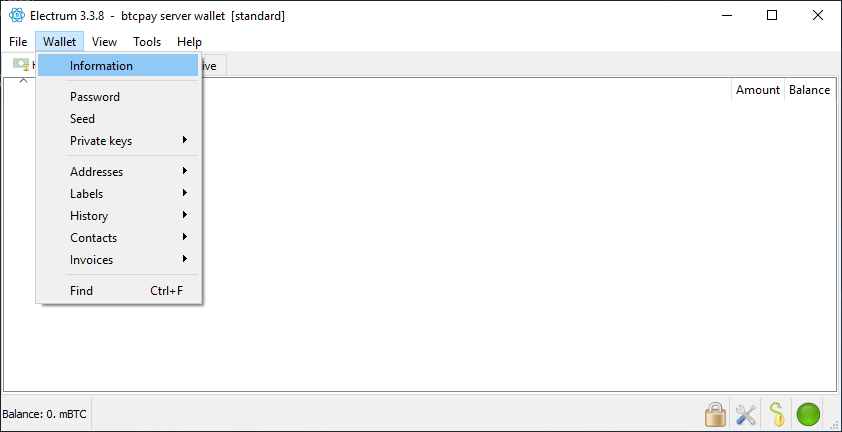
When the wallet loads (it may take few moments), in the top menu, click on the Wallet and thenInformation .
Select and copy the Master Public Key. This is the public key from which BTCPay will derive addresses.
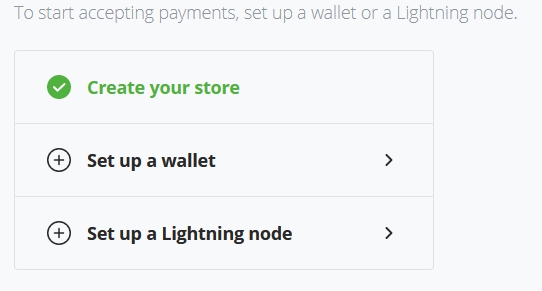
Return to your BTCPay Server. Click on the Bitcoin in the left menu or Set up a wallet on your new dashboard.
Click Connect an existing wallet
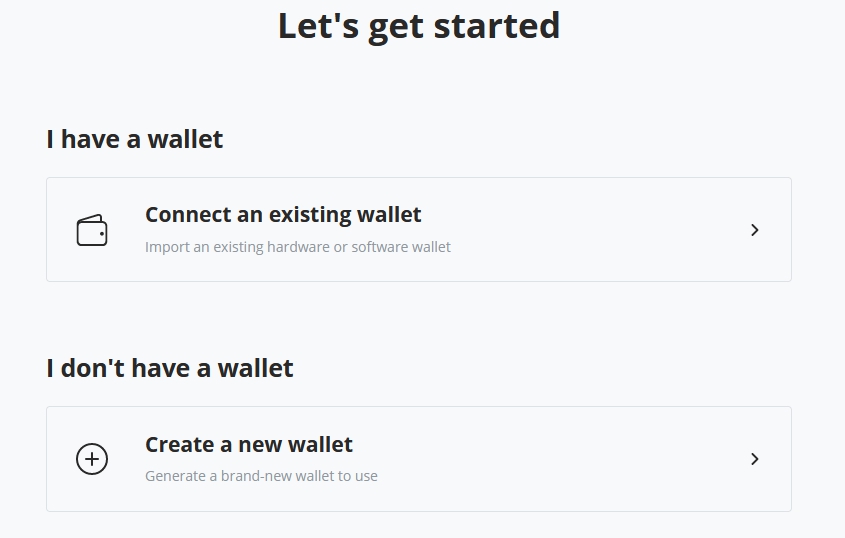
Now click on the Enter extended public key option to import your key.
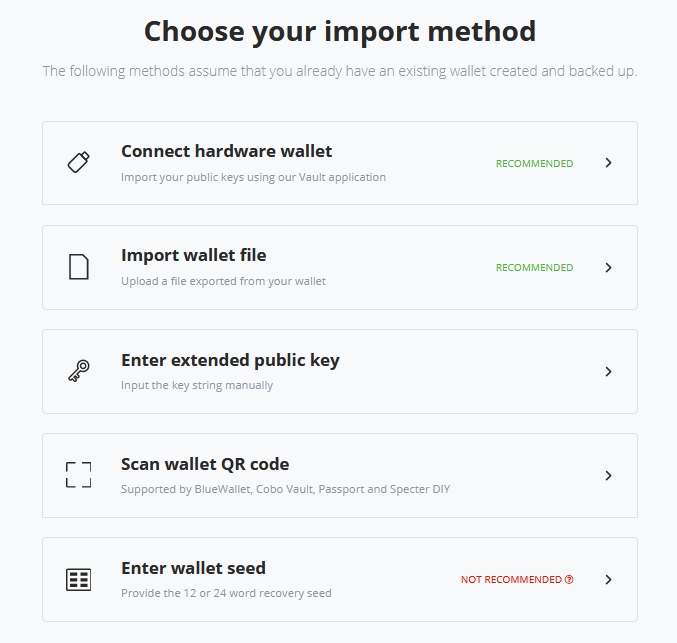
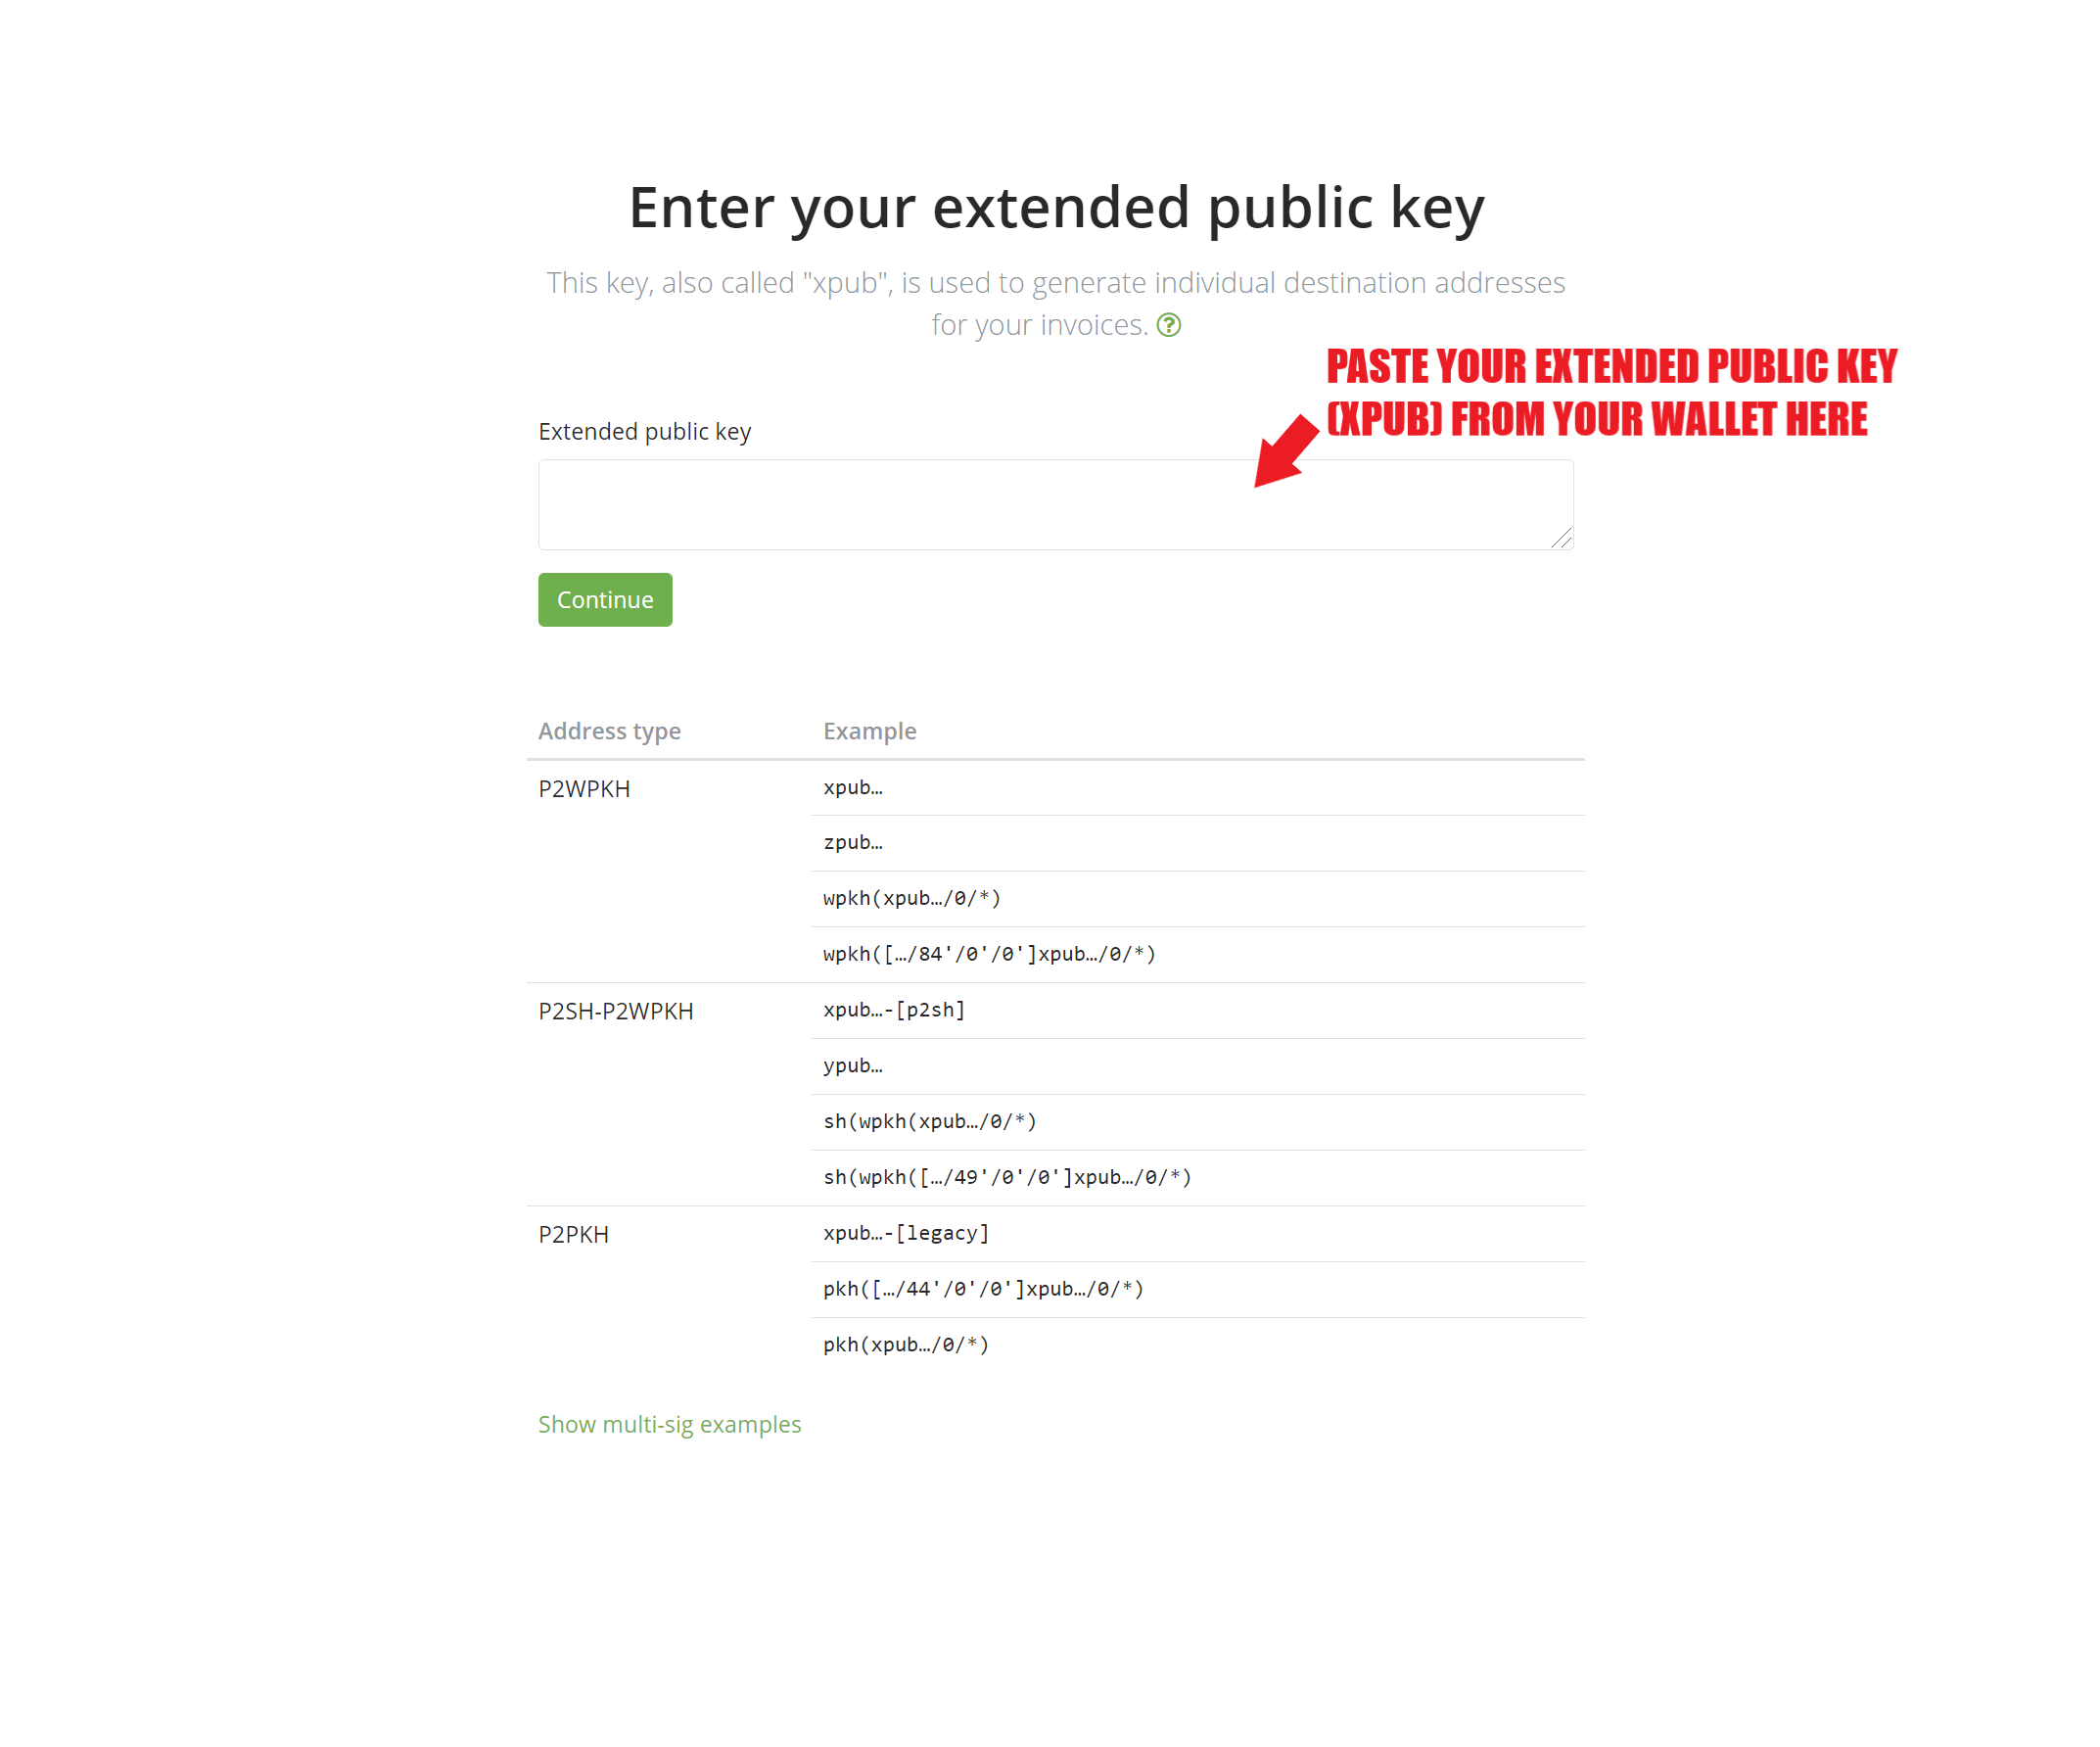
Paste the Master Public Key into derivation scheme field as it is, without adding anything else. Make sure that Enabled checkbox is ticked and click Continue.
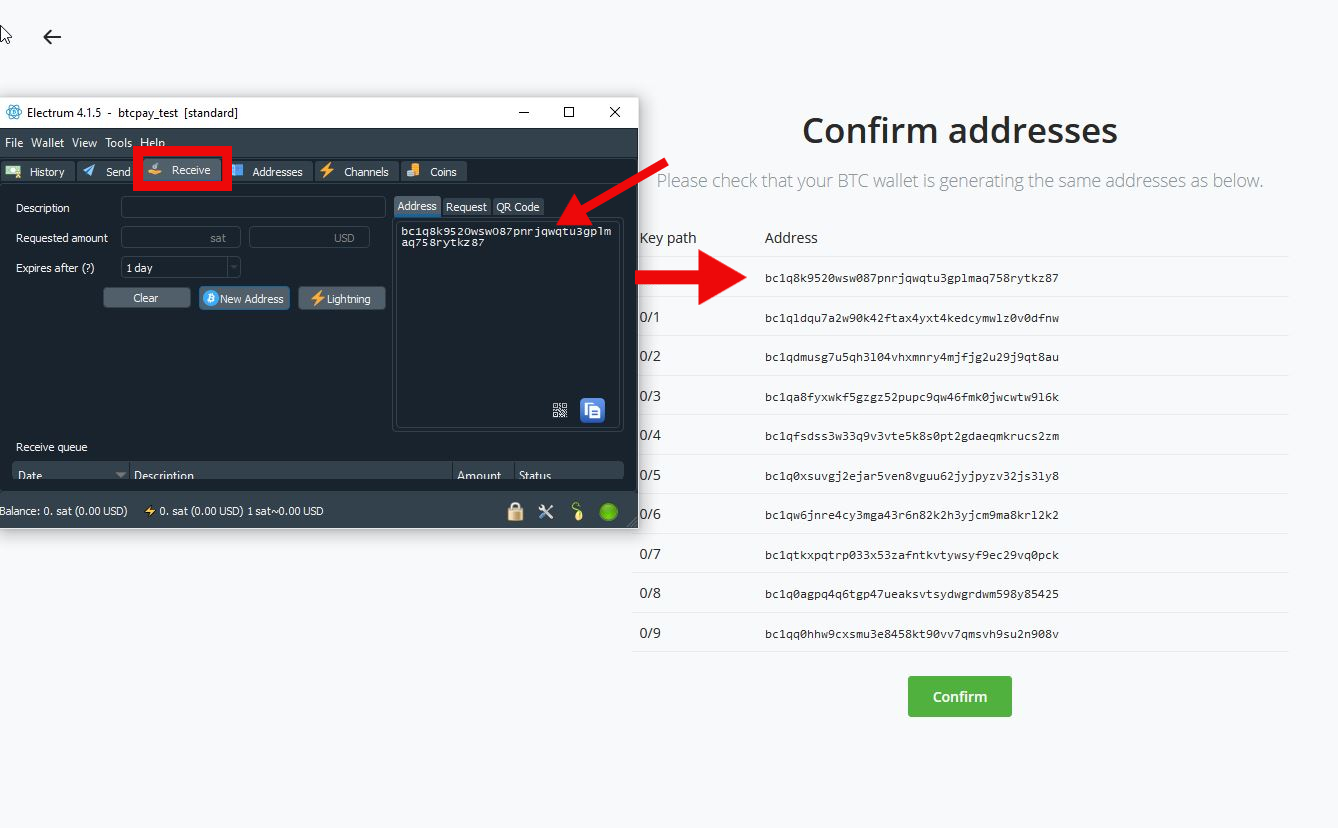
Return to the Electrum Wallet. Go to Receive tab which shows your wallet receiving address.
Compare the address you see in Electrum Wallet to Addresses shown in BTCPay Server. If there's a match, continue. If there is no match, double-check that you're actually pasting Master Public Key.
# Configuring the Gap Limit in Electrum
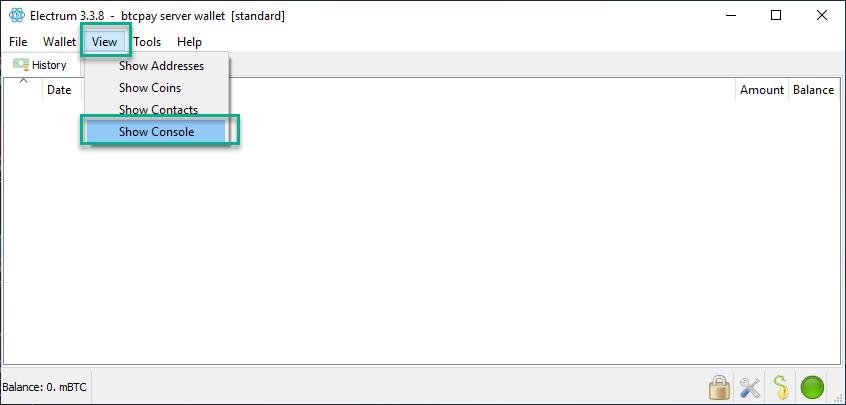
In the top menu, click on the View and thenShow Console .
Enter following commands in Electrum console and press enteron your keyboard.
wallet.change_gap_limit(100)
If you are running a version older than Electrum 4, also enter the following command and press 'enter'
wallet.storage.write()
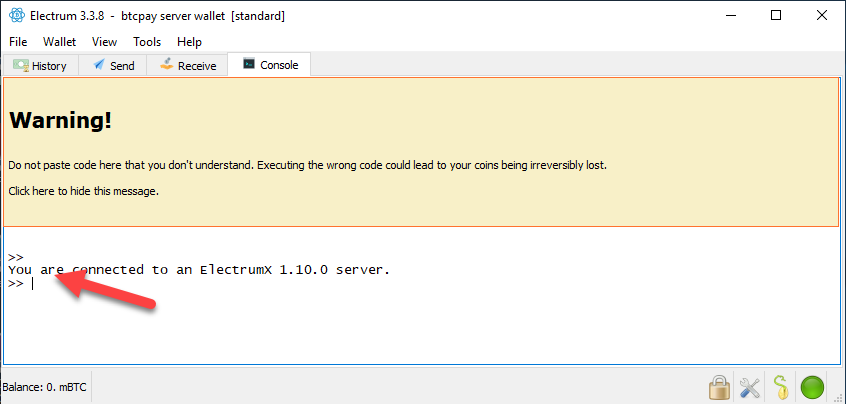
Restart your Electrum and verify that the newly set gap limit is correct by entering in the console:
wallet.gap_limit
There's no good answer to how much you should set the gap limit to. Most merchants set 100-200. If you're a big merchants with high transaction volume, you can try with even higher gap limit.
For more details about the Gap Limit, check the FAQ.
Electrum and BTCPay Server are now connected. Any payments received to your BTCPay will be visible in Electrum, where you can further spend them.
